Getting Started
Getting Started Guide
Let’s get you up and running your viral campaign in no time!
Before we get started…
Running a successful PerkZilla campaign can be boiled down to just a few simple steps; however, taking a step back to plan your campaign – even for just a few minutes, can have a tremendous impact on your success!
We strongly recommend reading the entire quick start guide to get a sense of the campaign creation process as a whole before you begin entering information into the platform.
When you’re ready to begin, click ![]() to start the walkthrough wizard.
to start the walkthrough wizard.
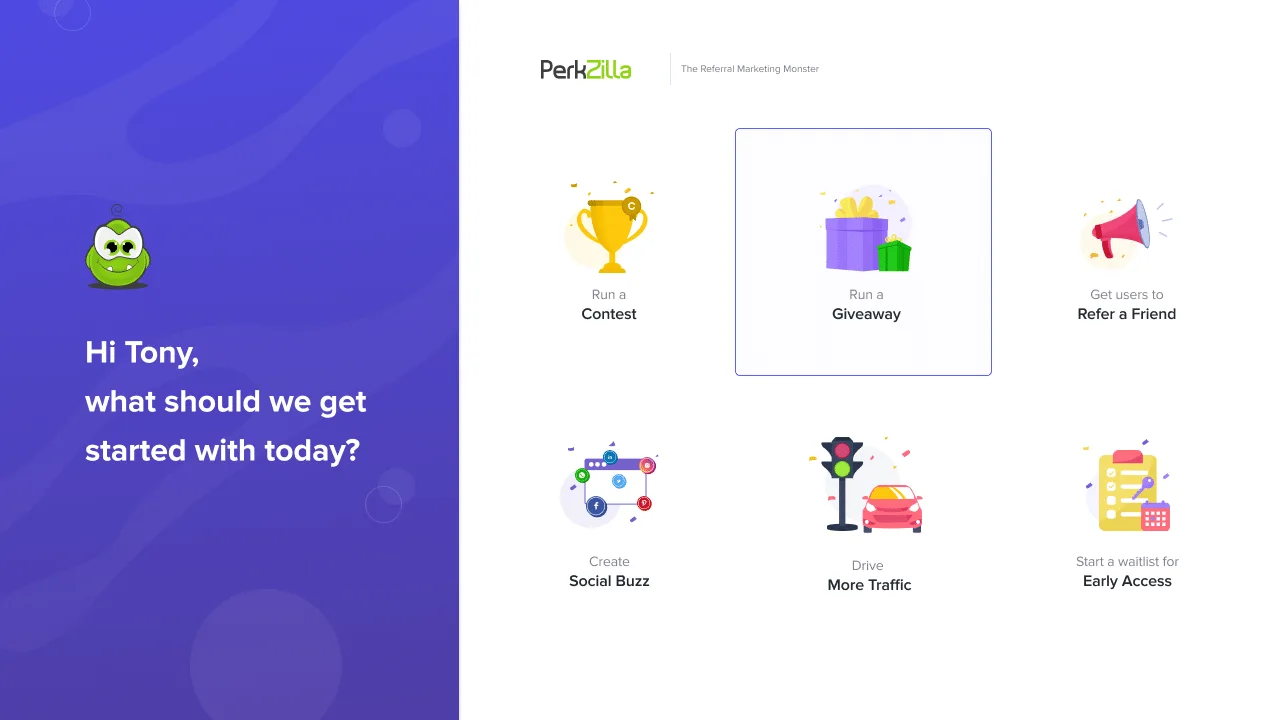
1. Select a Campaign Type
We offer six goal oriented templates to help you start off on the right foot, be sure to pick the one that best fits your goal.
You can learn more about each campaign type below. When choosing a campaign type, think about your audience and business needs.
Users may love contests and giveaways but the refer-a-friend program can allow for the most direct growth of your audience.
Contests
Imagine your users actively competing against one another to see who can grow your business the fastest!
Giveaways
Collect new signups faster than ever before by offering incentives that don’t cost you a dime.
Refer-a-Friend
Easily set up a tiered referral program where users instantly unlock rewards for getting you new leads.
Early Access
Create buildup for a new release in which users earn early access in exchange for actions that directly grow your business.
Social Awareness
Grow your social presence with incentives for active sharing and growing your audience.
Drive More Traffic
Get more traffic to a landing page or post by awarding points per action your visitors take.
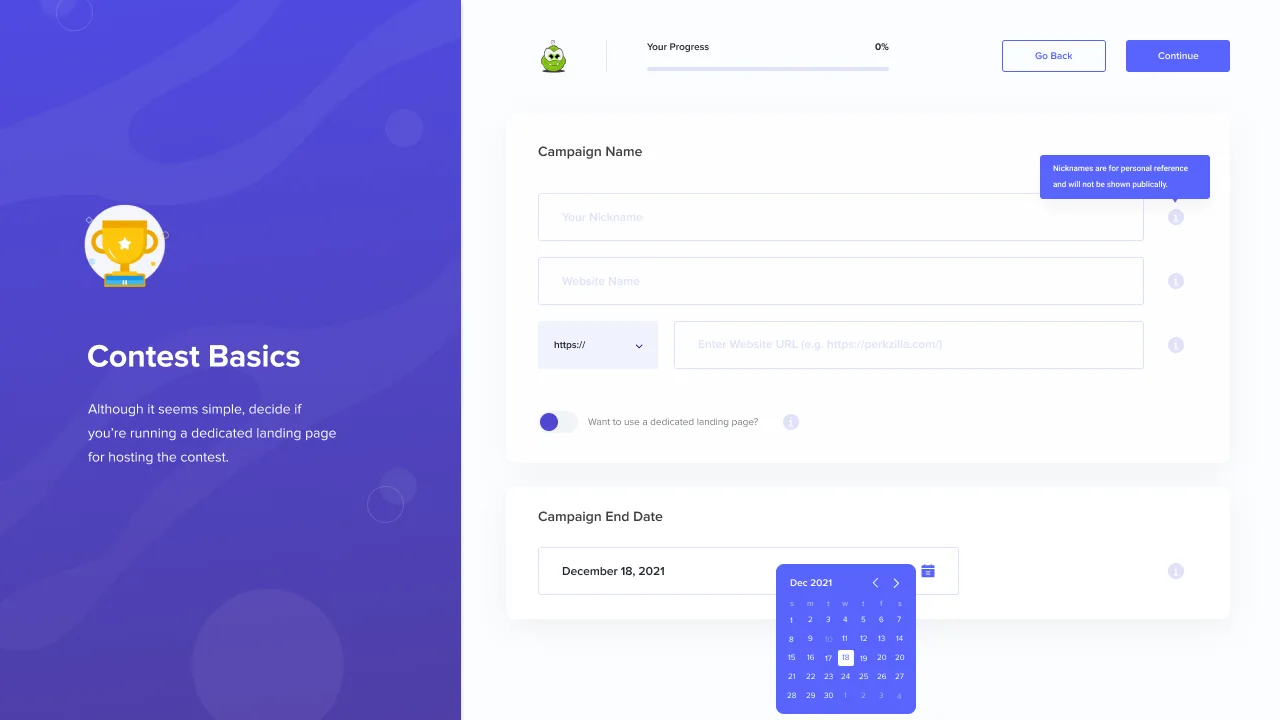
2. Campaign Basic Details
Choose a nickname for your personal reference as well as enter the publically seen website name that is hosting the campaign.
Then enter the main URL of the website where you’re planning on running the campaign.
This is recommended for most campaign types and required for specific advanced campaign funnels.
3. Rewarding Participants
A common misconception is that you have to give away the latest laptop, tablet or headphones to get traction.
While most users love new tech, the cost of these prizes take away from your profits and may not guide people towards your mission.
Be creative, the best prizes are the ones with real world value that cost you little or nothing to offer so that you can drive sustainable growth.
A great prize was for a dance studio who was having trouble filling the room. They already paid the instructors but there were still spots available in many classes.
Giving away a 60 minute dance lesson didn’t cost them a dime but had tremendous value to their audience and benefited their mission.
It pays to brainstorm in this case, and a great prize structure can set up sustainable growth for years to come.
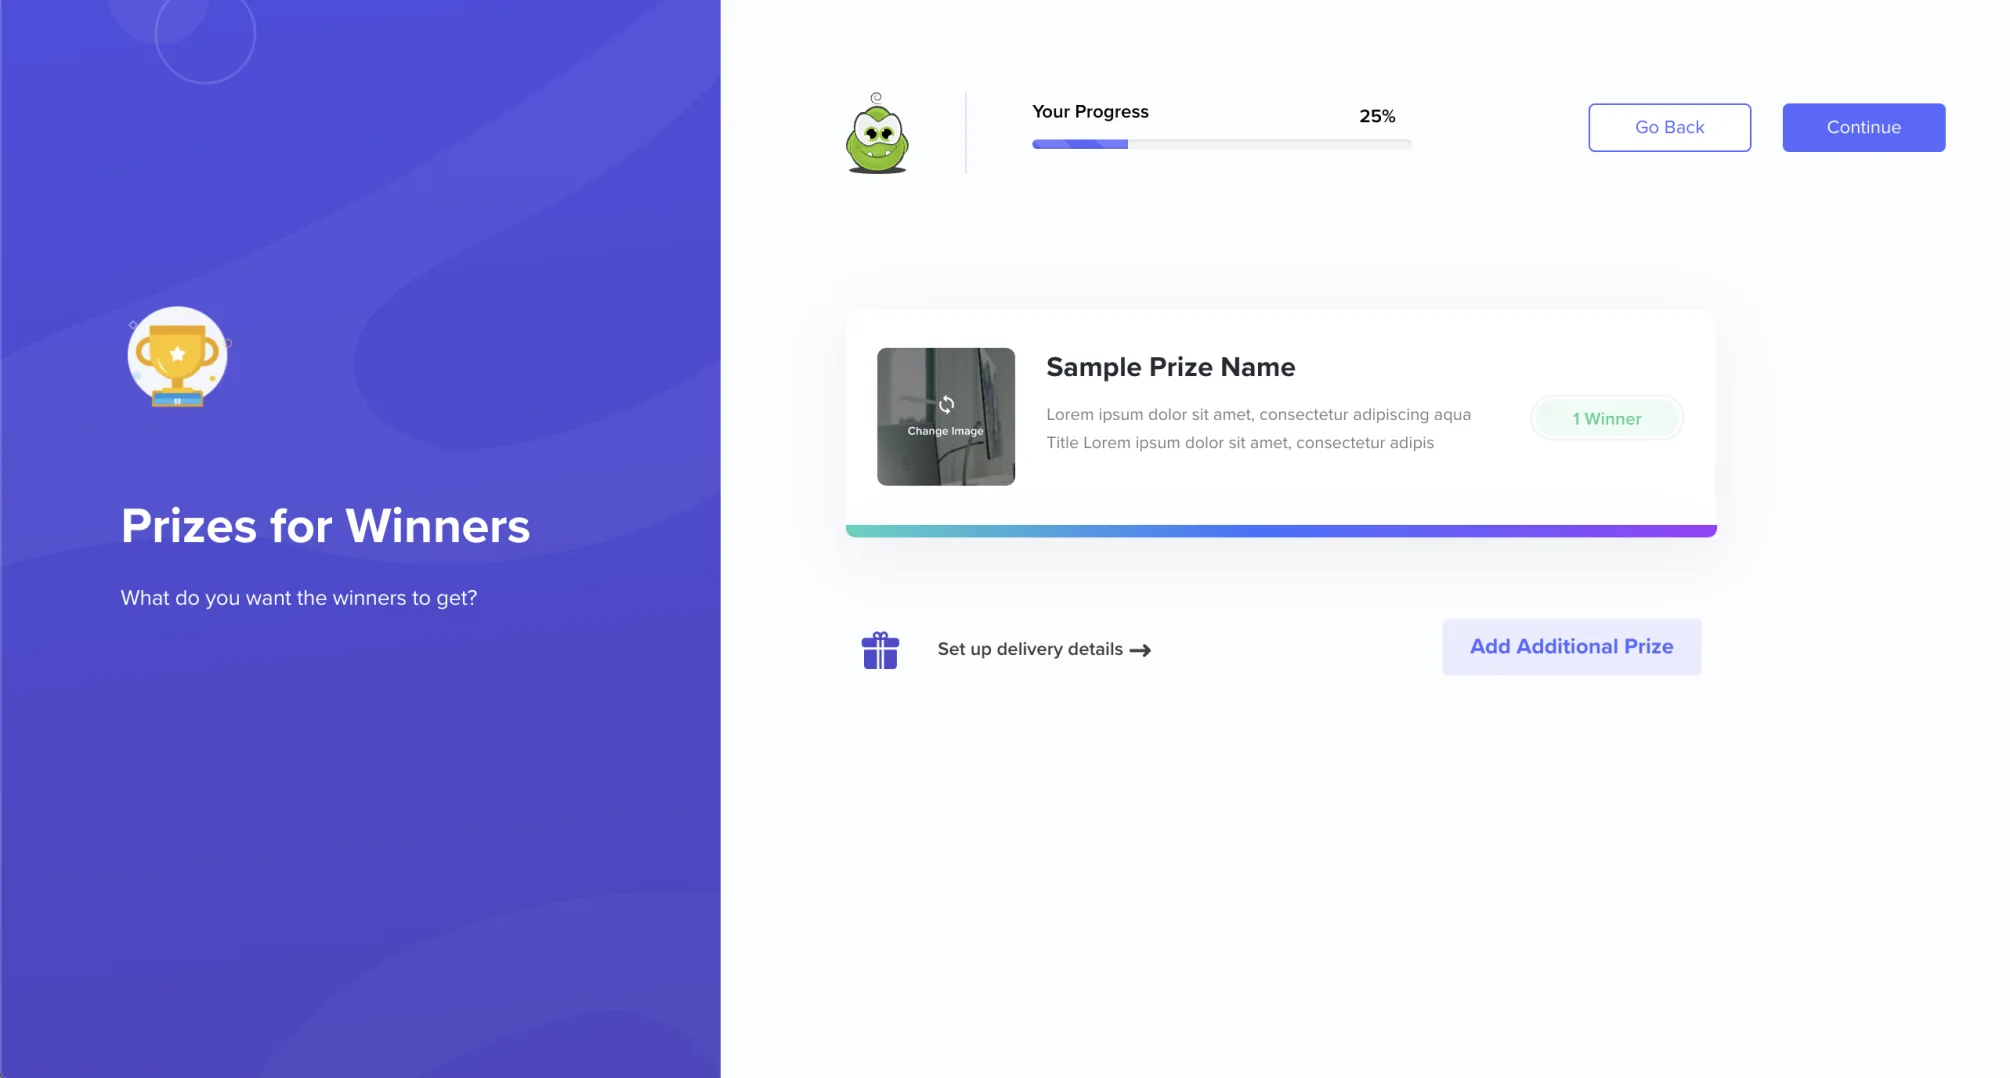
- Simply point and click to edit the Prize Name, Prize Description or change the Prize Image.
- Clicking on the Winner Badge to the right allows you to edit how many prizes are available and translate the badge.
- In the case of a Refer-a-Friend program or Drive More Traffic campaign, this badge allows you to set the threshold for points or referrals needed to earn that specific reward.
Prize information can be edited at anytime in the Live Editor.
4. Prize or Reward Delivery
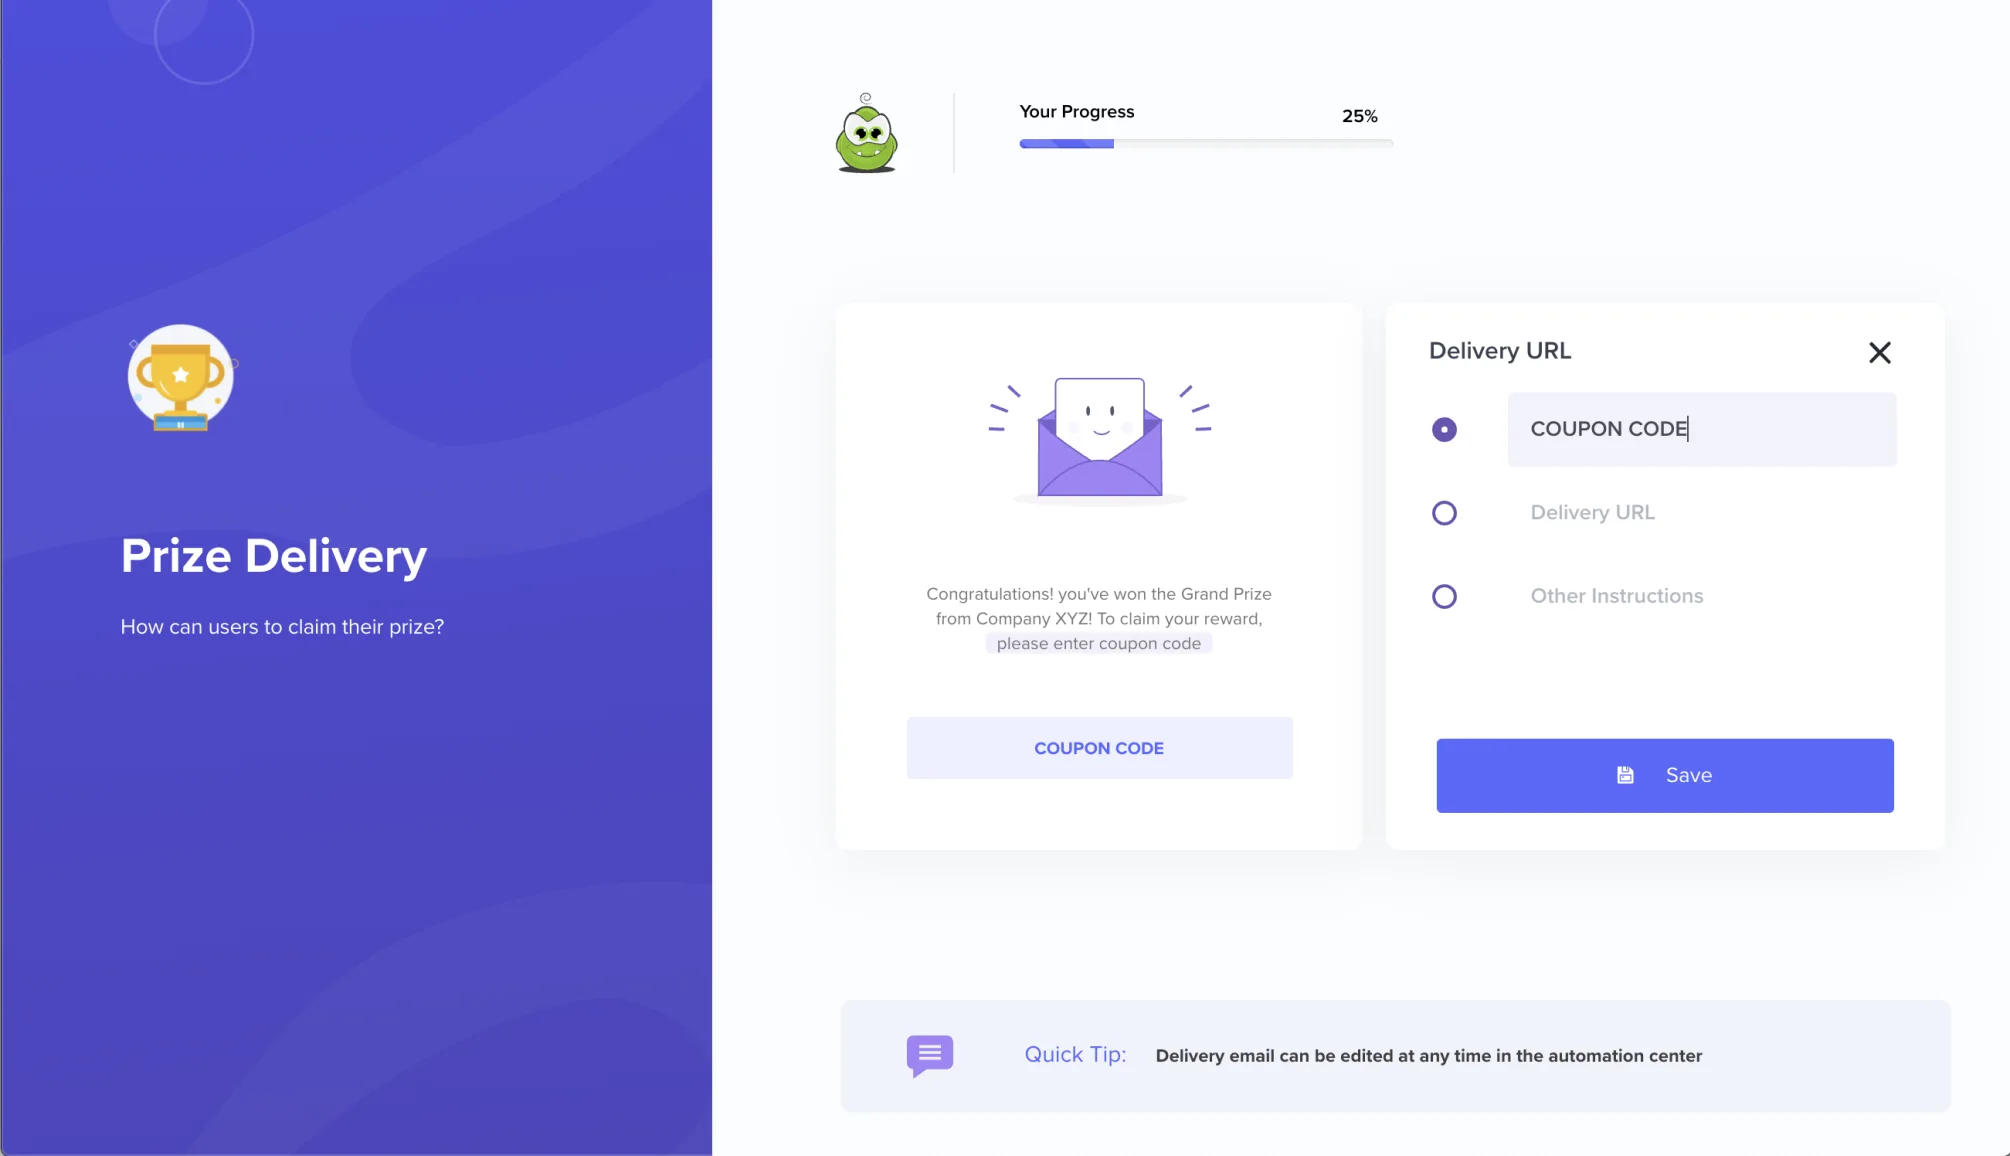
Once you’re happy with your first reward or prize, you’ll have to specify how your users can actually claim their reward.

You can select the delivery method between:
- Coupon Code
- Delivery URL
- Other Instructions
Delivery emails can be edited at anytime in the Automation Center.
5. Capturing User Details
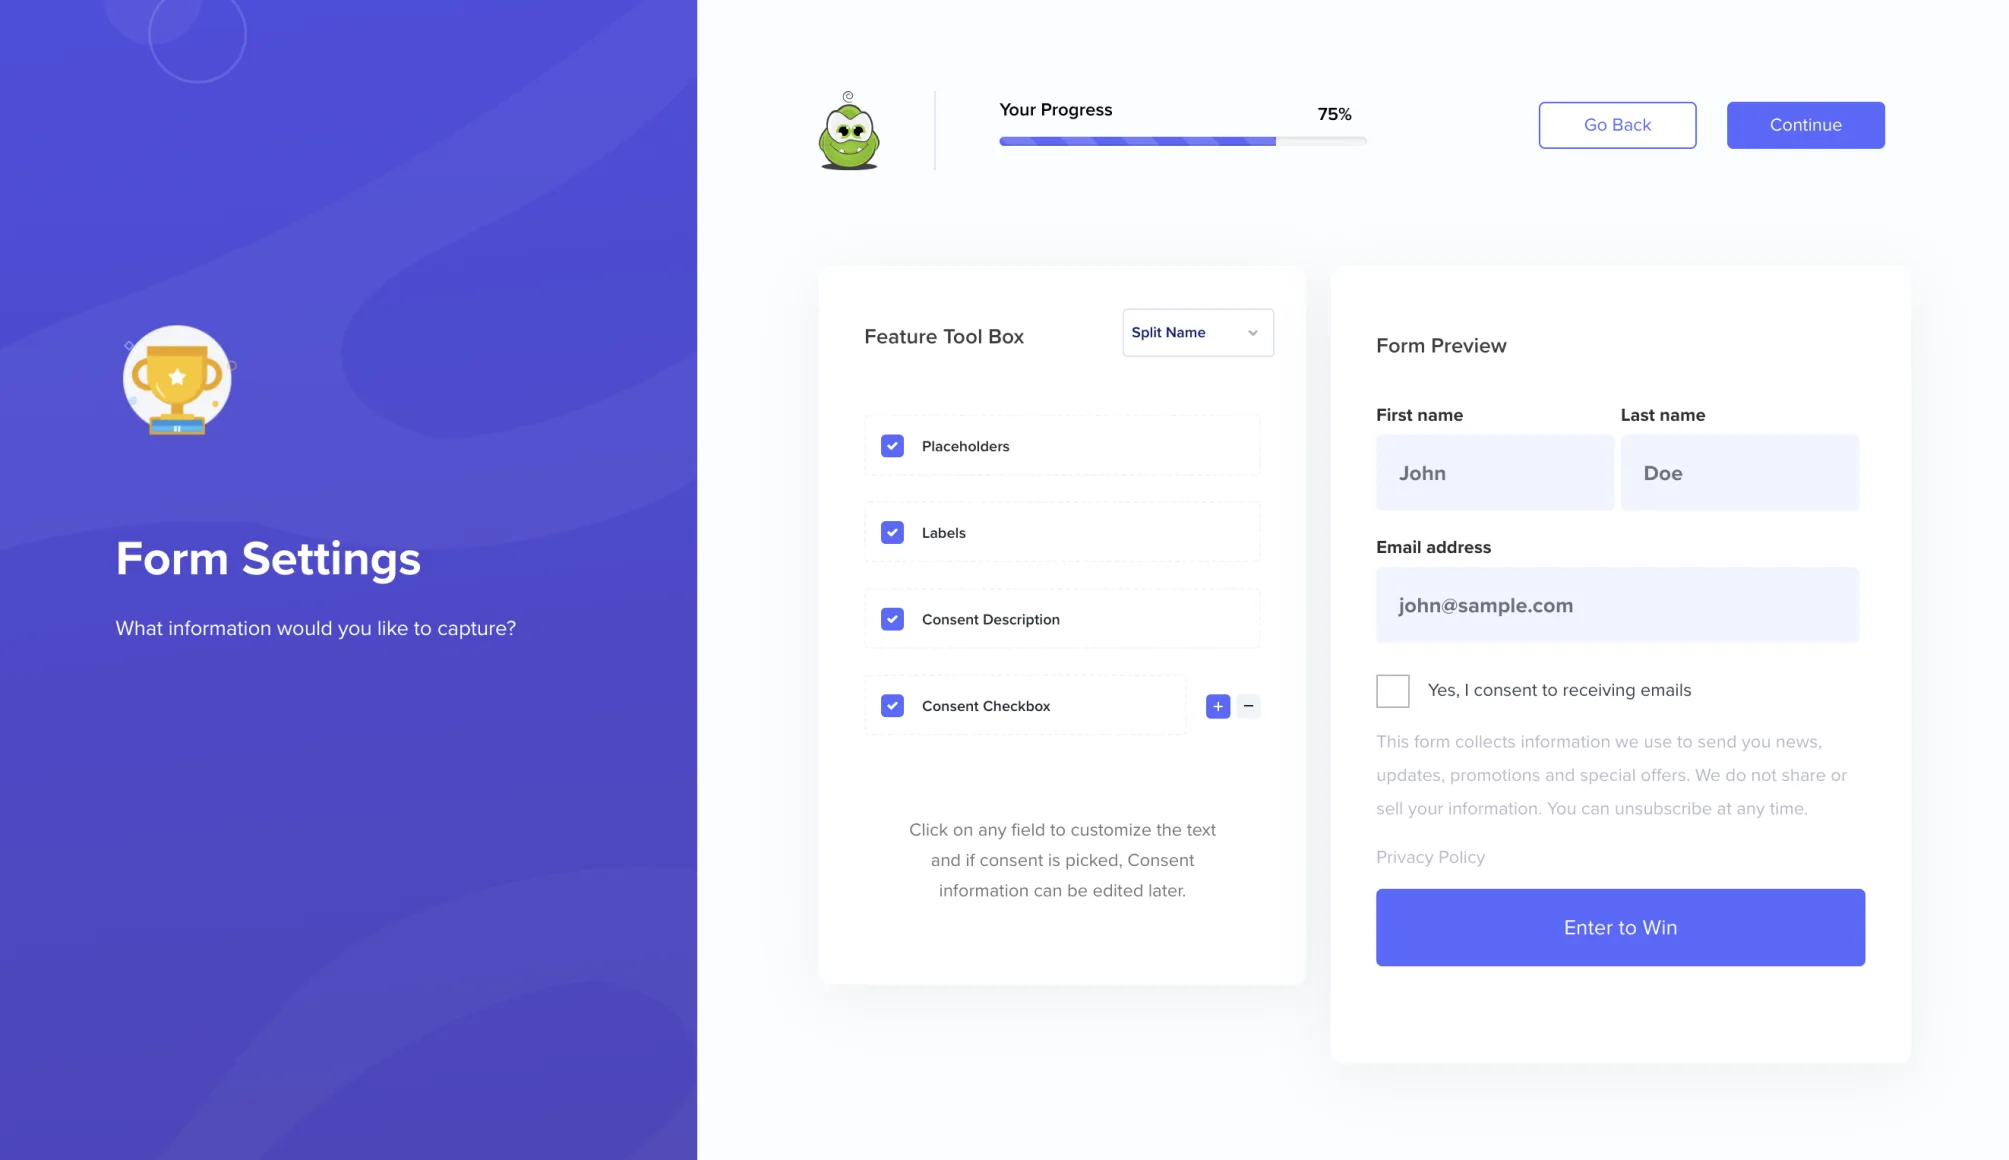
Simply click to edit or translate any aspect of the form. If you’re unsure you may modify it later in the Live Editor.
You can click the dropdown to choose between
- Email Only
- Name + Email
- Split Name + Email
Form Settings can be edited at anytime in the Live Editor.
6. Actions for Bonus Entries
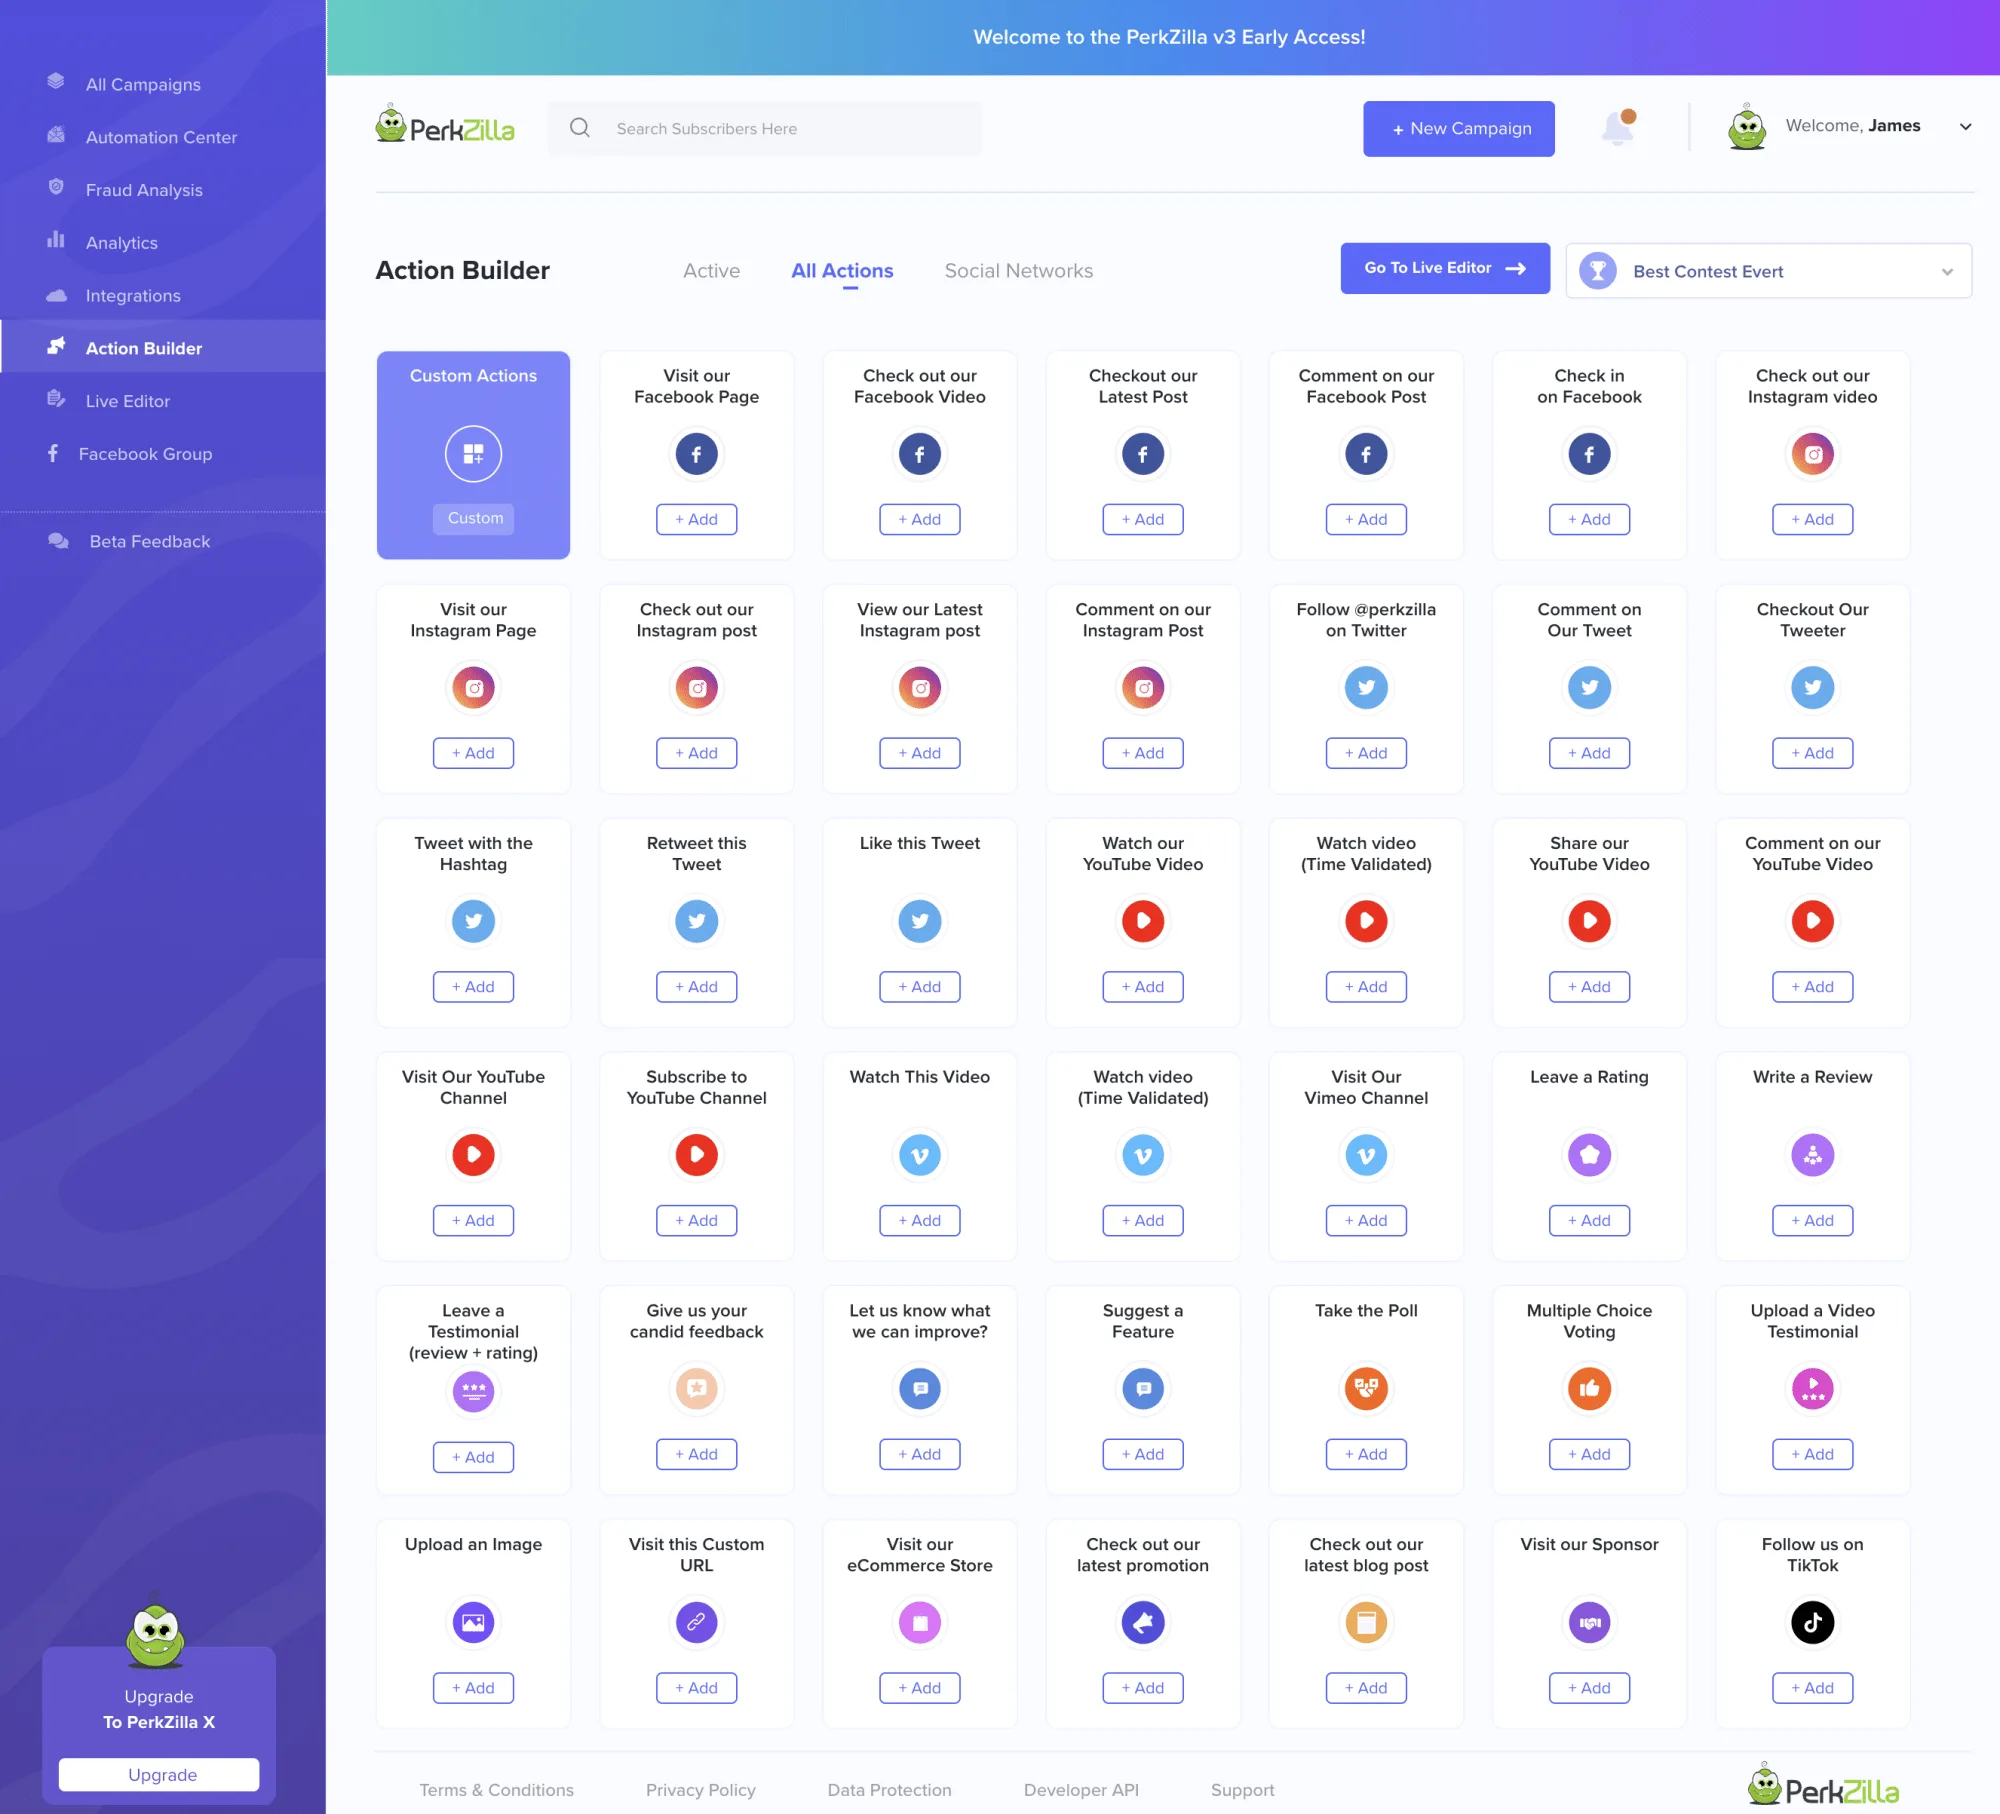
PerkZilla is loaded with actions that your participants can take to earn additional points or entries in your campaign.
Each action has unique linking instructions upon adding. While we do most of the heavy lifting, you may need to paste embed codes or URLs.
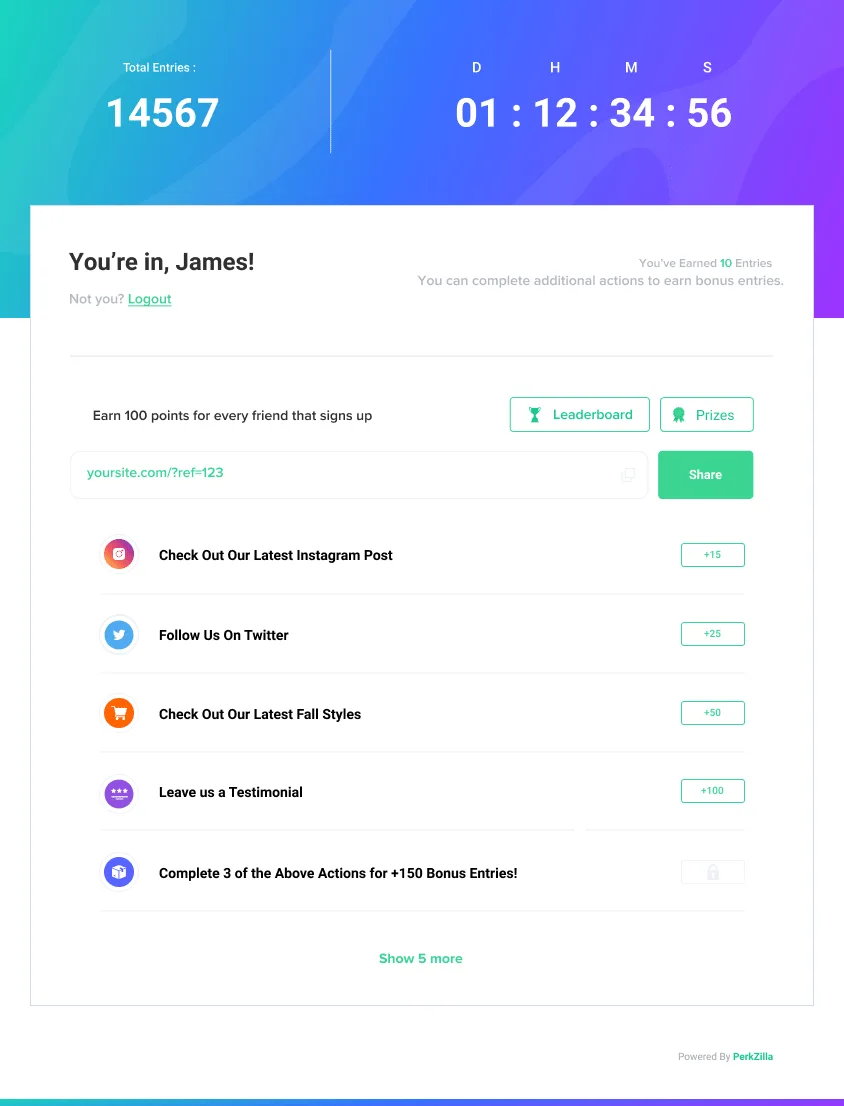
Be sure to test each action in the widget when you’re done!
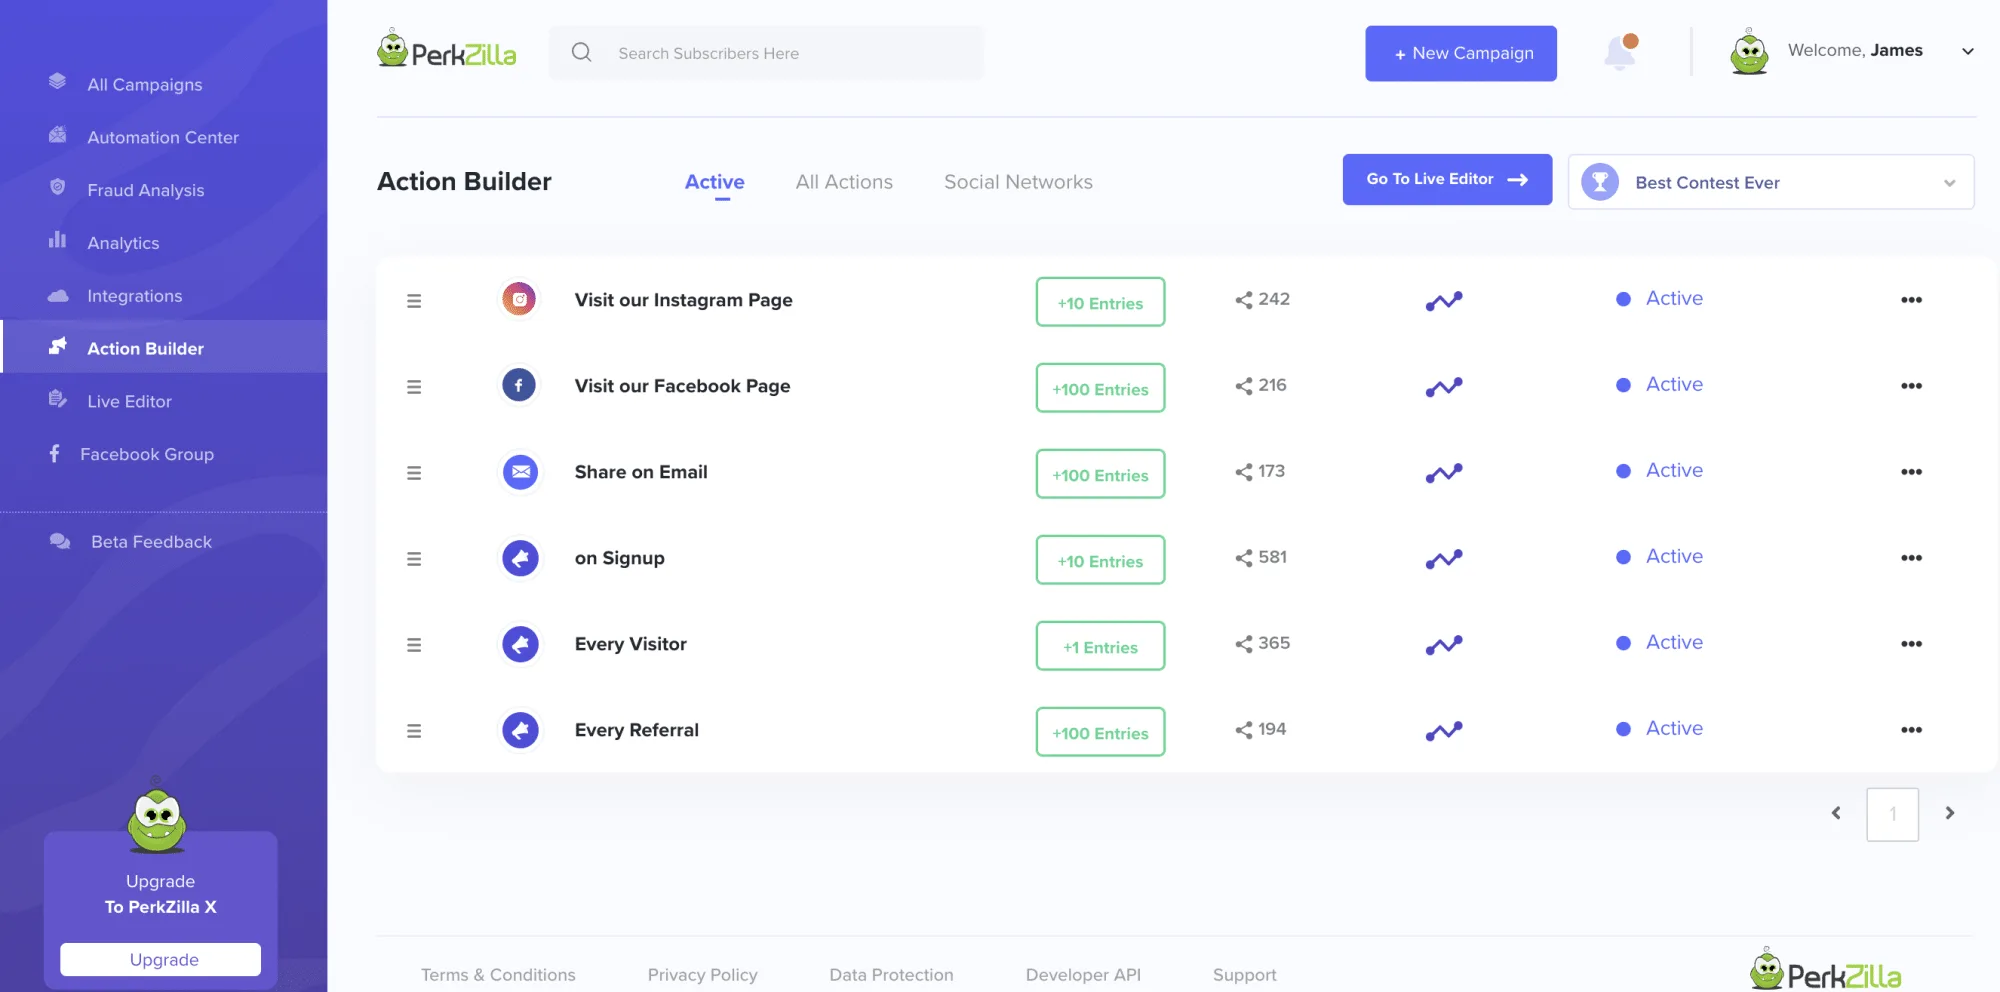
Actions are visible in the widget, with the core actions (points on sign up, points per visit and points per referral) integrated directly in the system.
You can then pause, edit and view action performance in the Active tab.
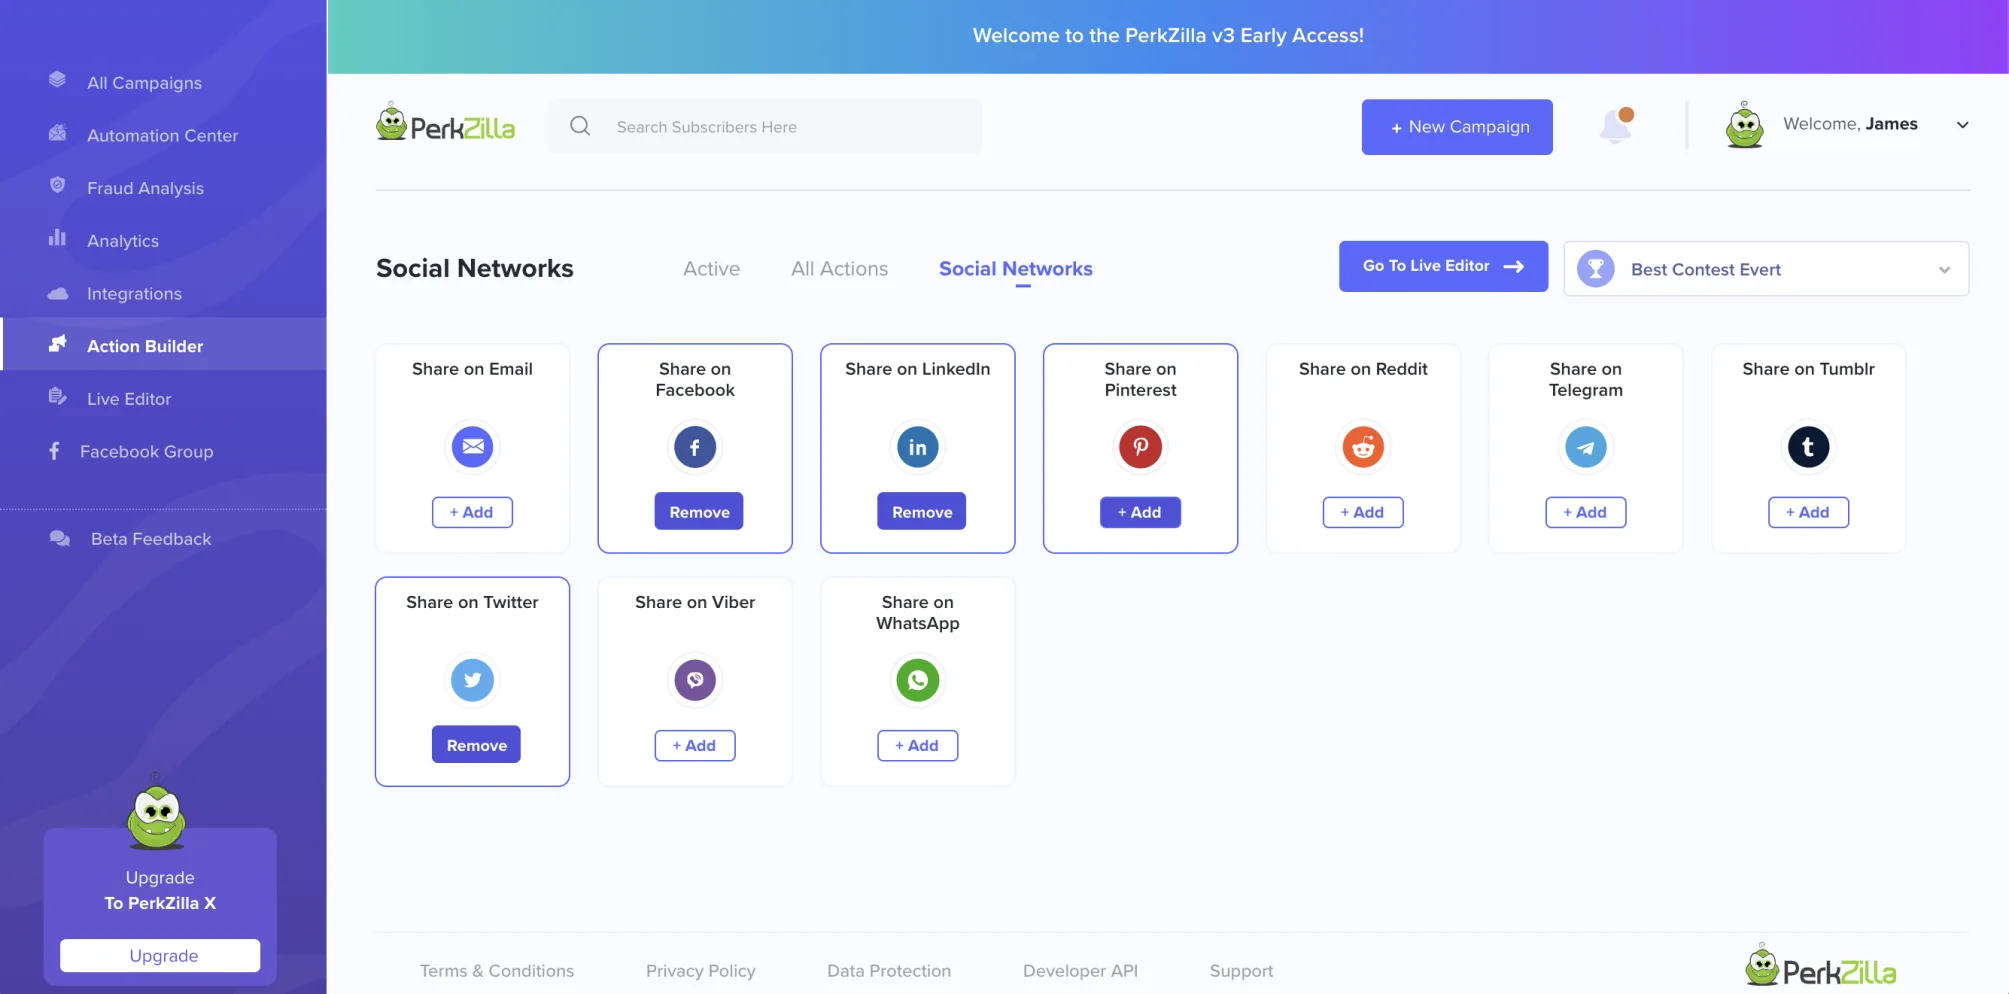
The final tab of the action builder allows you to set what social networks you would like to share on.
7. Social Networks
The final tab of the Action Builder allows you to set what social networks you’d like participants to be able to one-click share their referral link on.You may also use the social network “Share Via” actions in the action builder to add the one-click share options directly into the actions area of the widget.
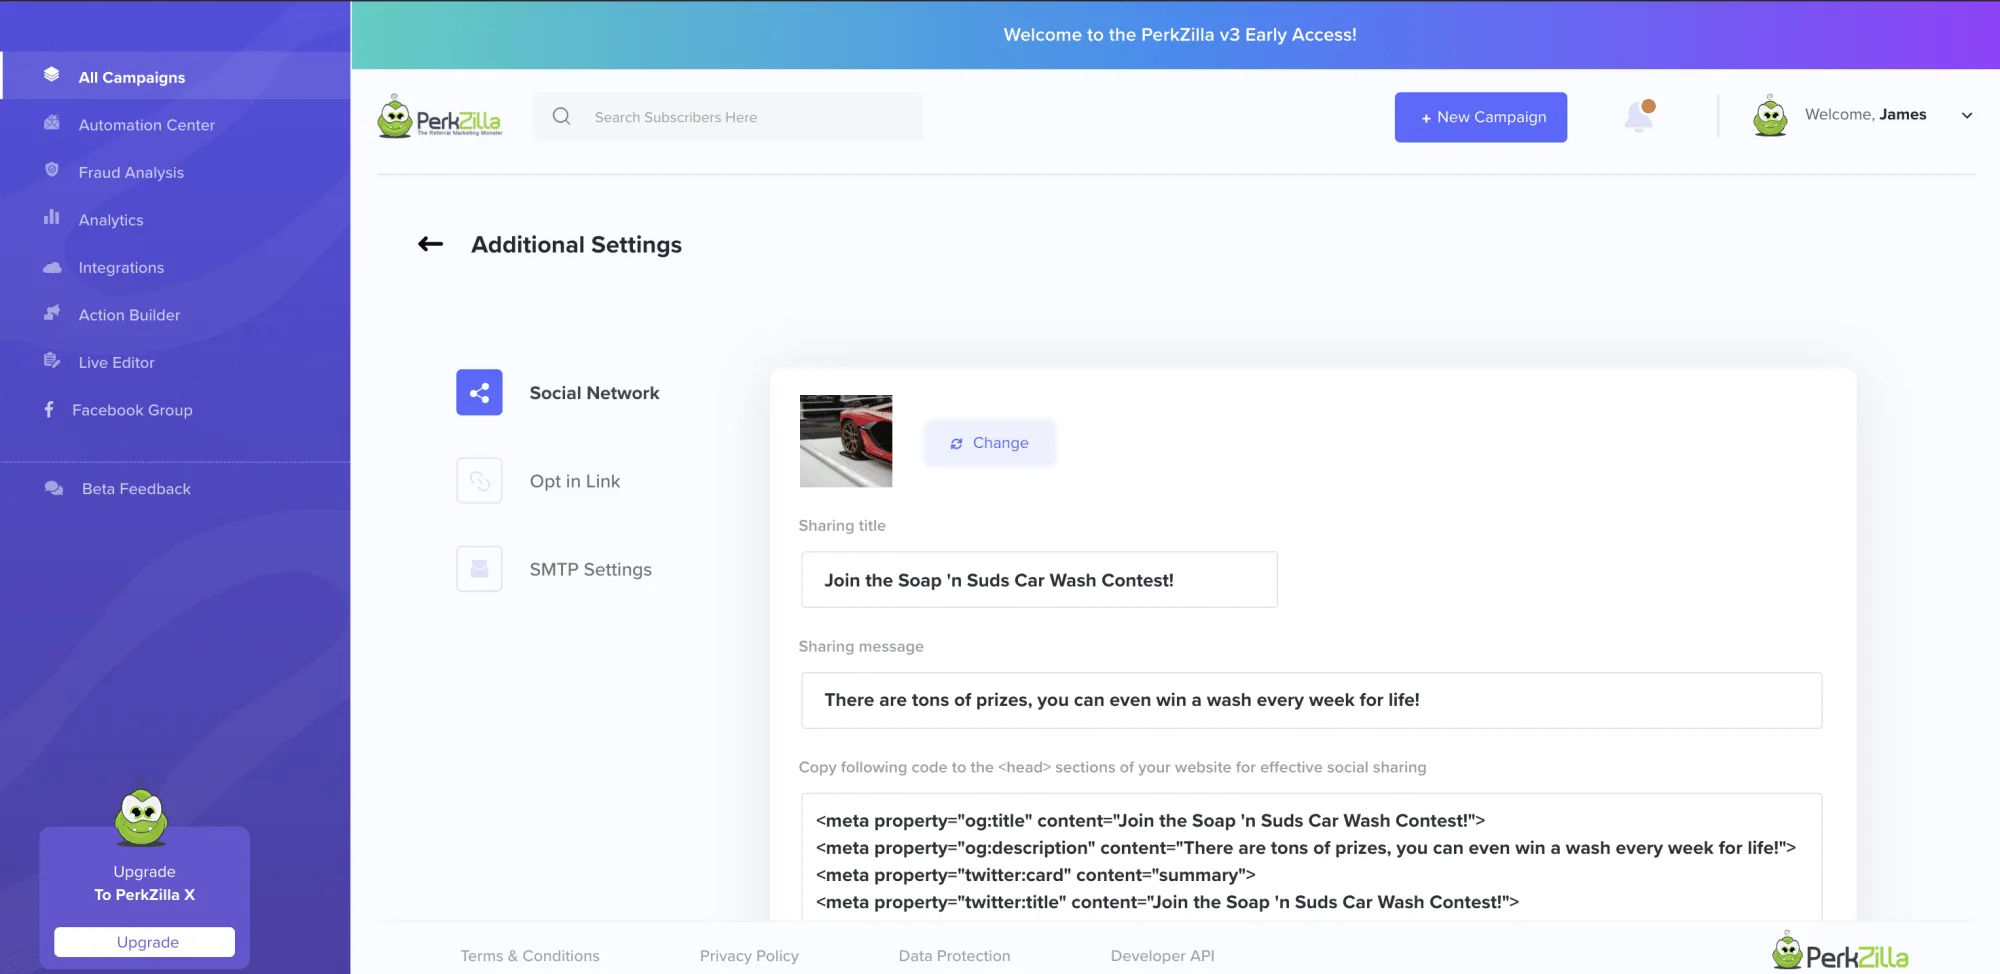
Social Networks can be added or removed at anytime, for best results be sure to configure and add the <meta tags> from the Additional Settings area before the close of your </head> section.
8. Live Editing Campaigns
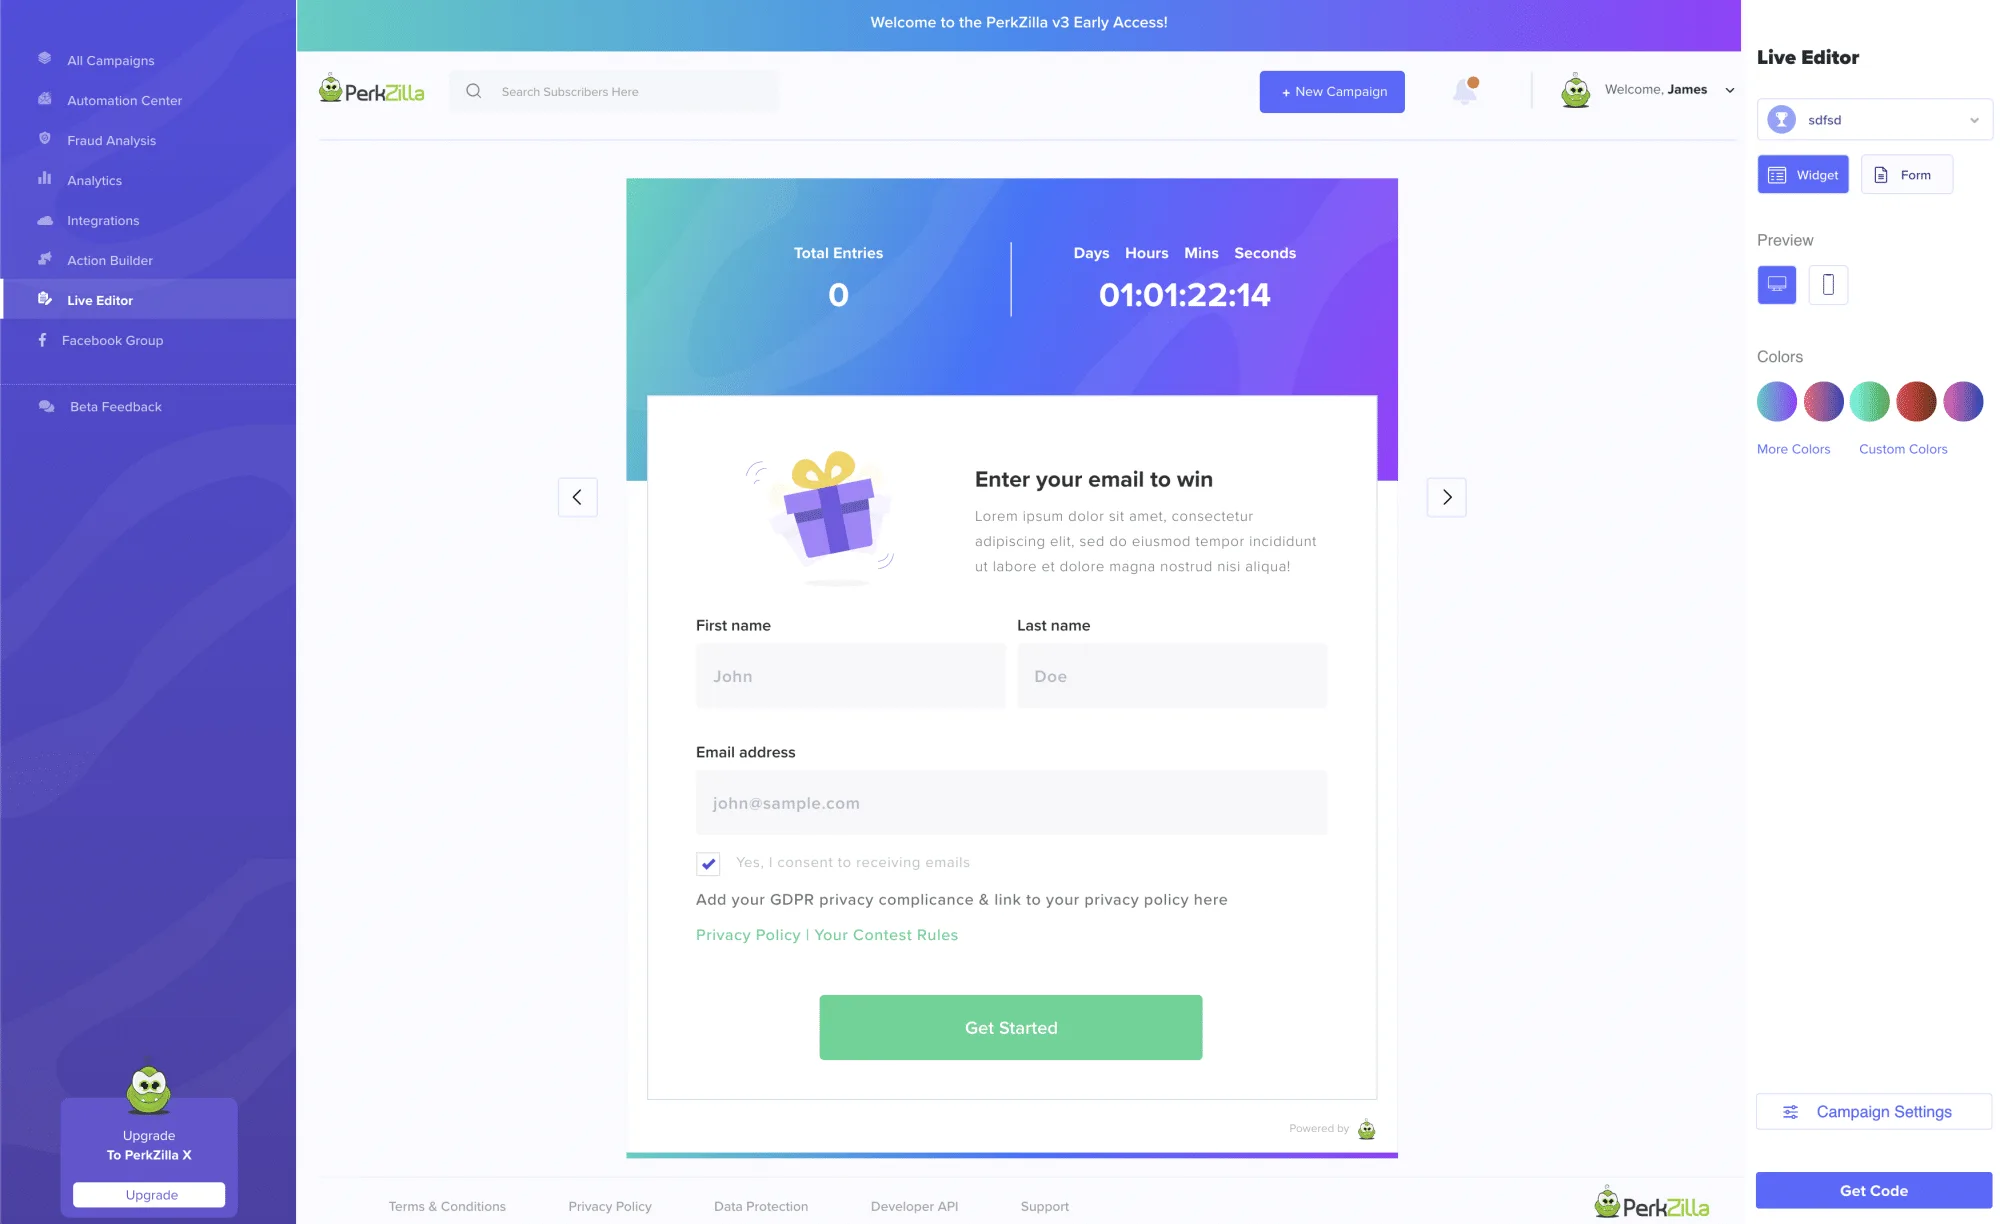
One of the most powerful aspects of PerkZilla is the ability to “Live Edit” any aspect of your form or widget directly on a live preview in real time.Simply point and click to edit or translate any aspect of the front-facing widget and form.
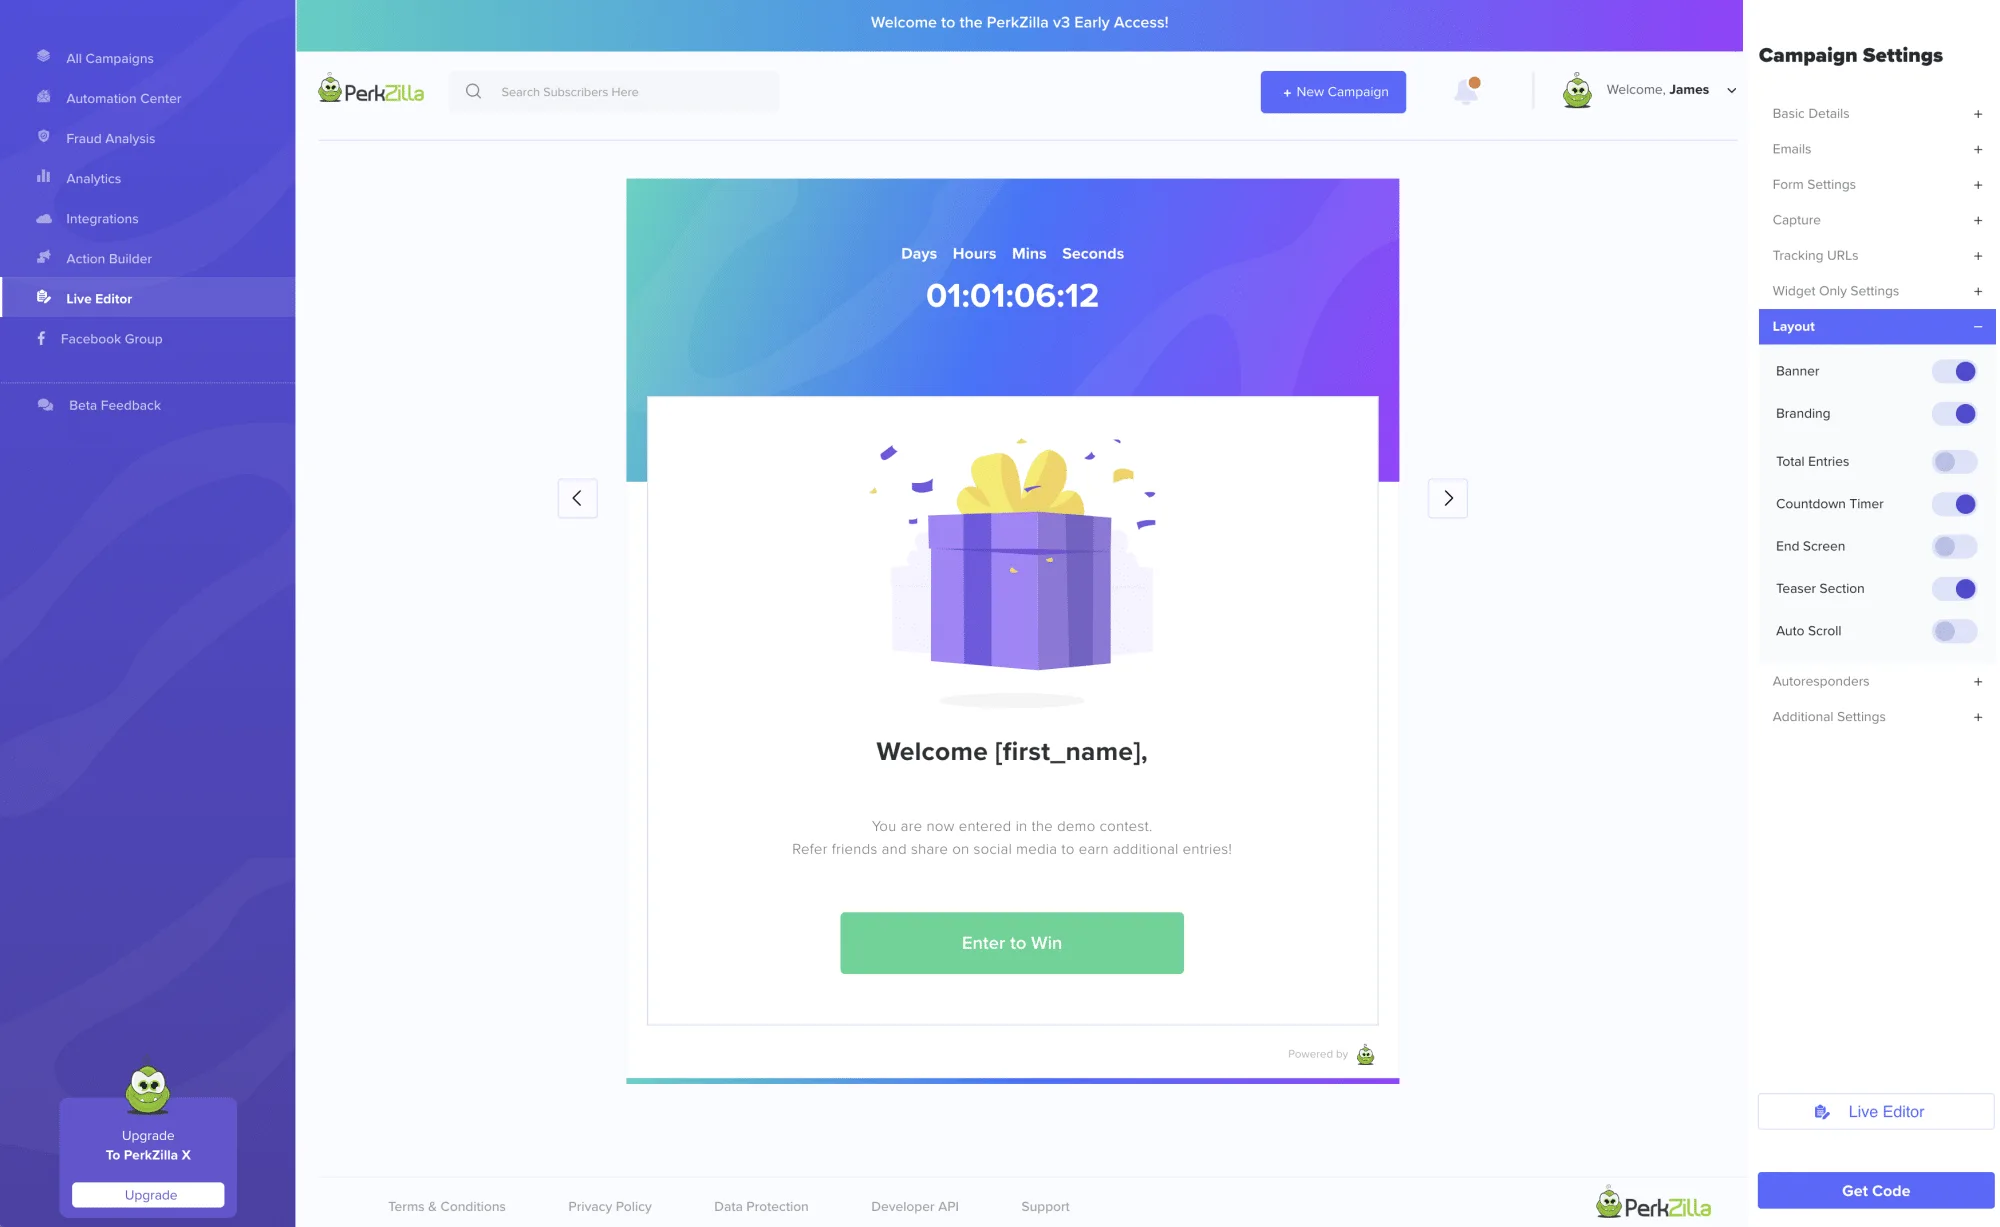
You can even click to change background images, modify the color scheme, choose from preset templates and toggle on/off layout options.
Your changes are automatically saved and you can edit at any time.
Once you’ve gone through the walkthrough wizard and set up your actions, the live editor is where your campaign will reside.
The Live Editor allows you to
- Edit or translate the entire form or widget flow
- Live Preview both Desktop and Mobile versions of your campaign
- Switch between form and widget for advanced flow creation
- Add, clone, edit or delete rewards or prizes
- Modify campaign settings for an additional configurations
…and so much more
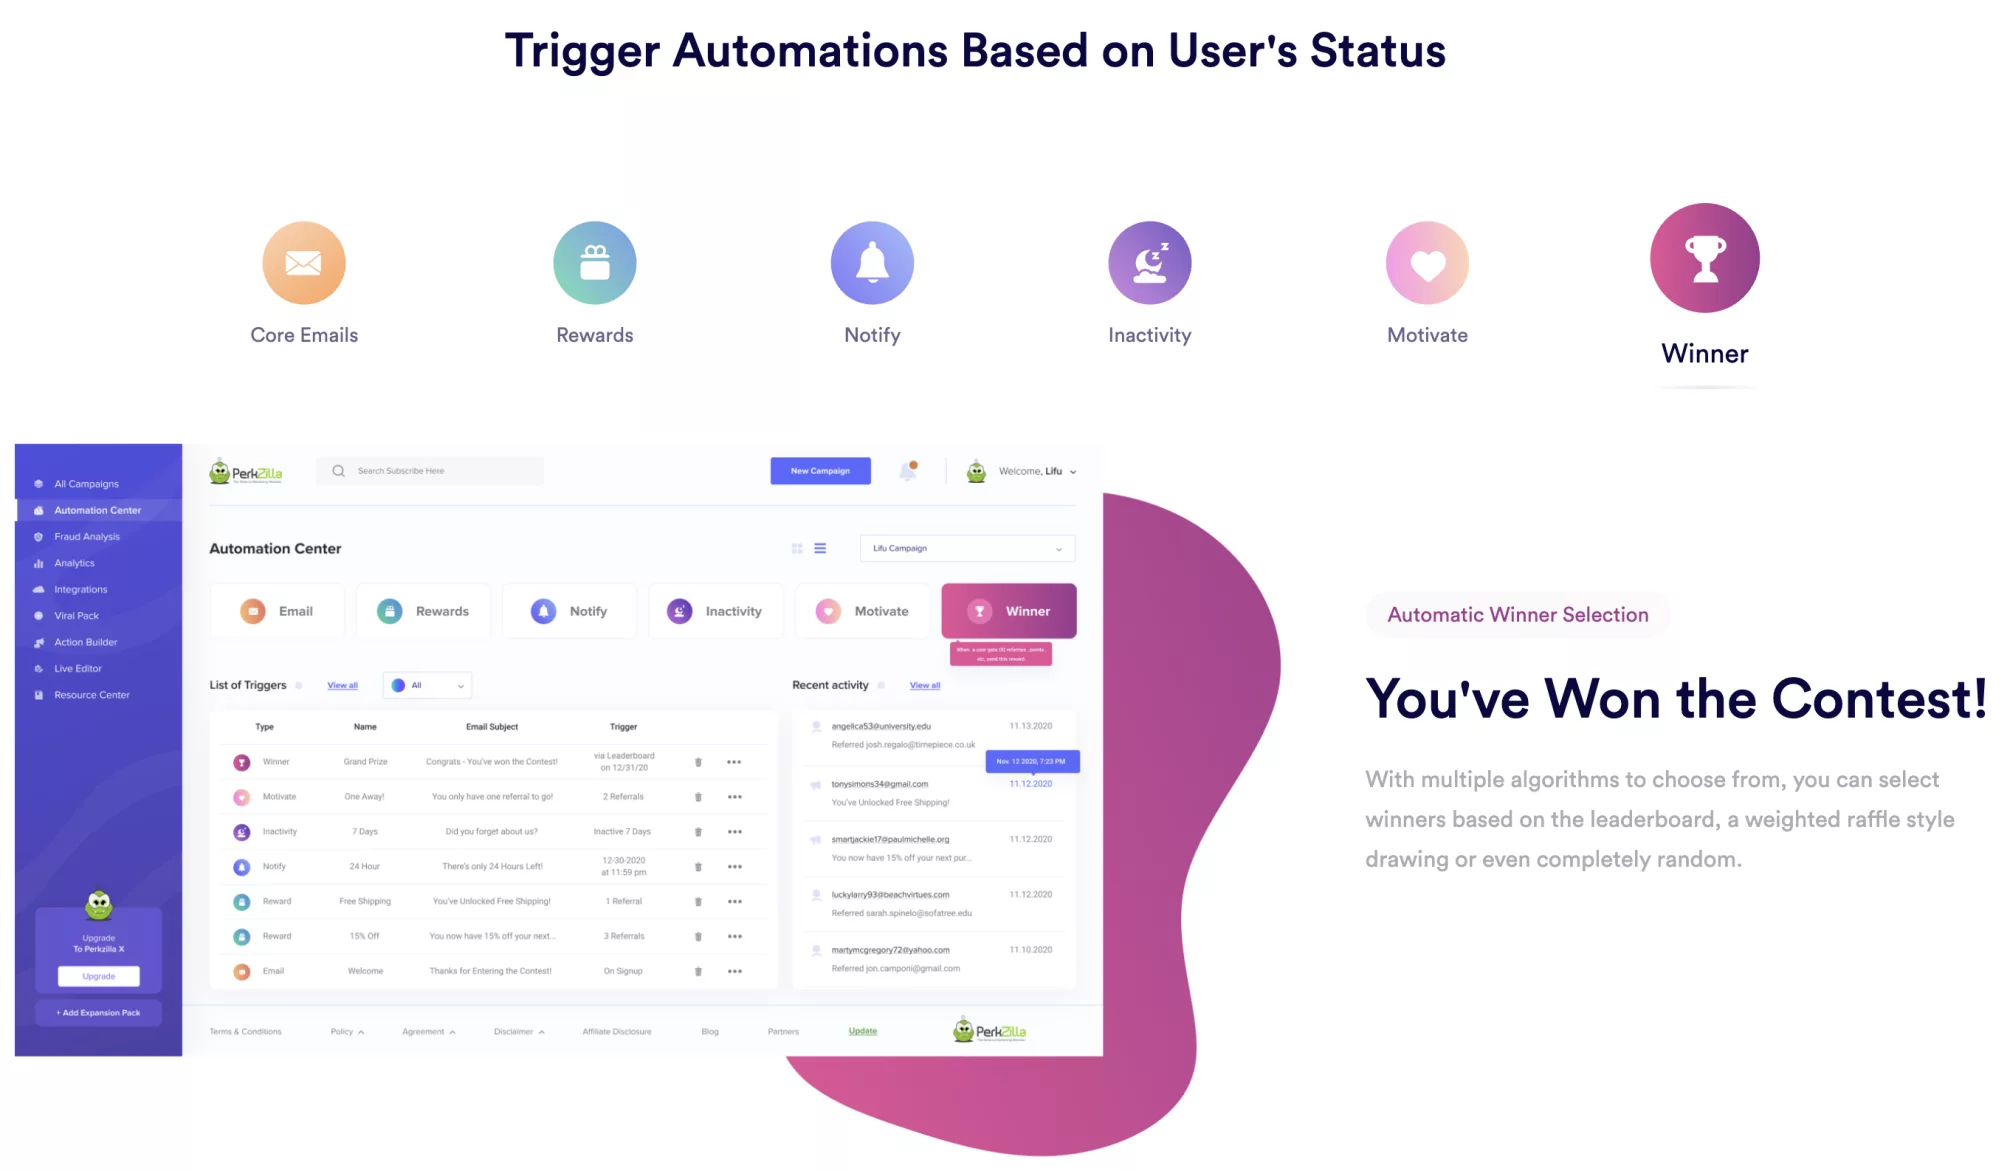
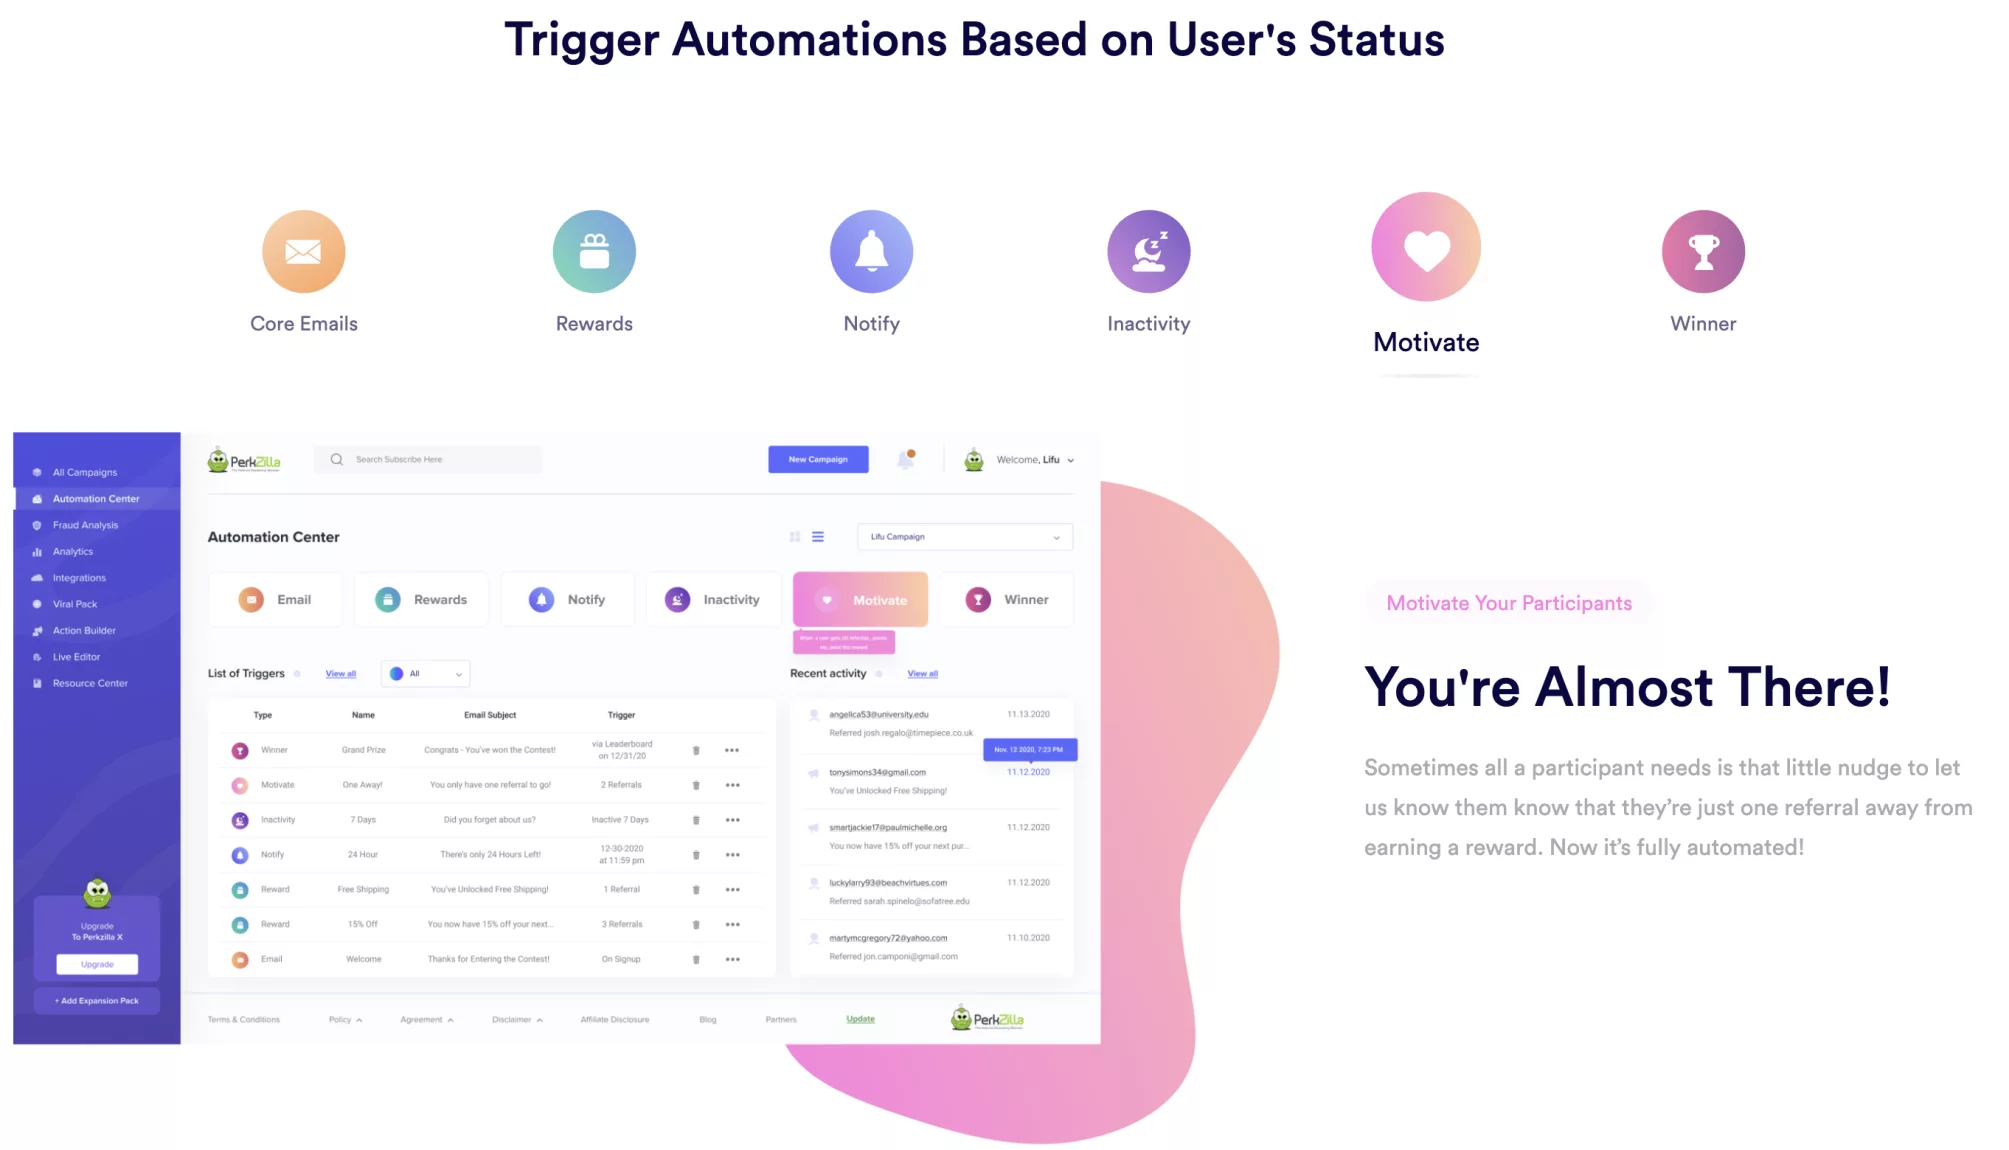
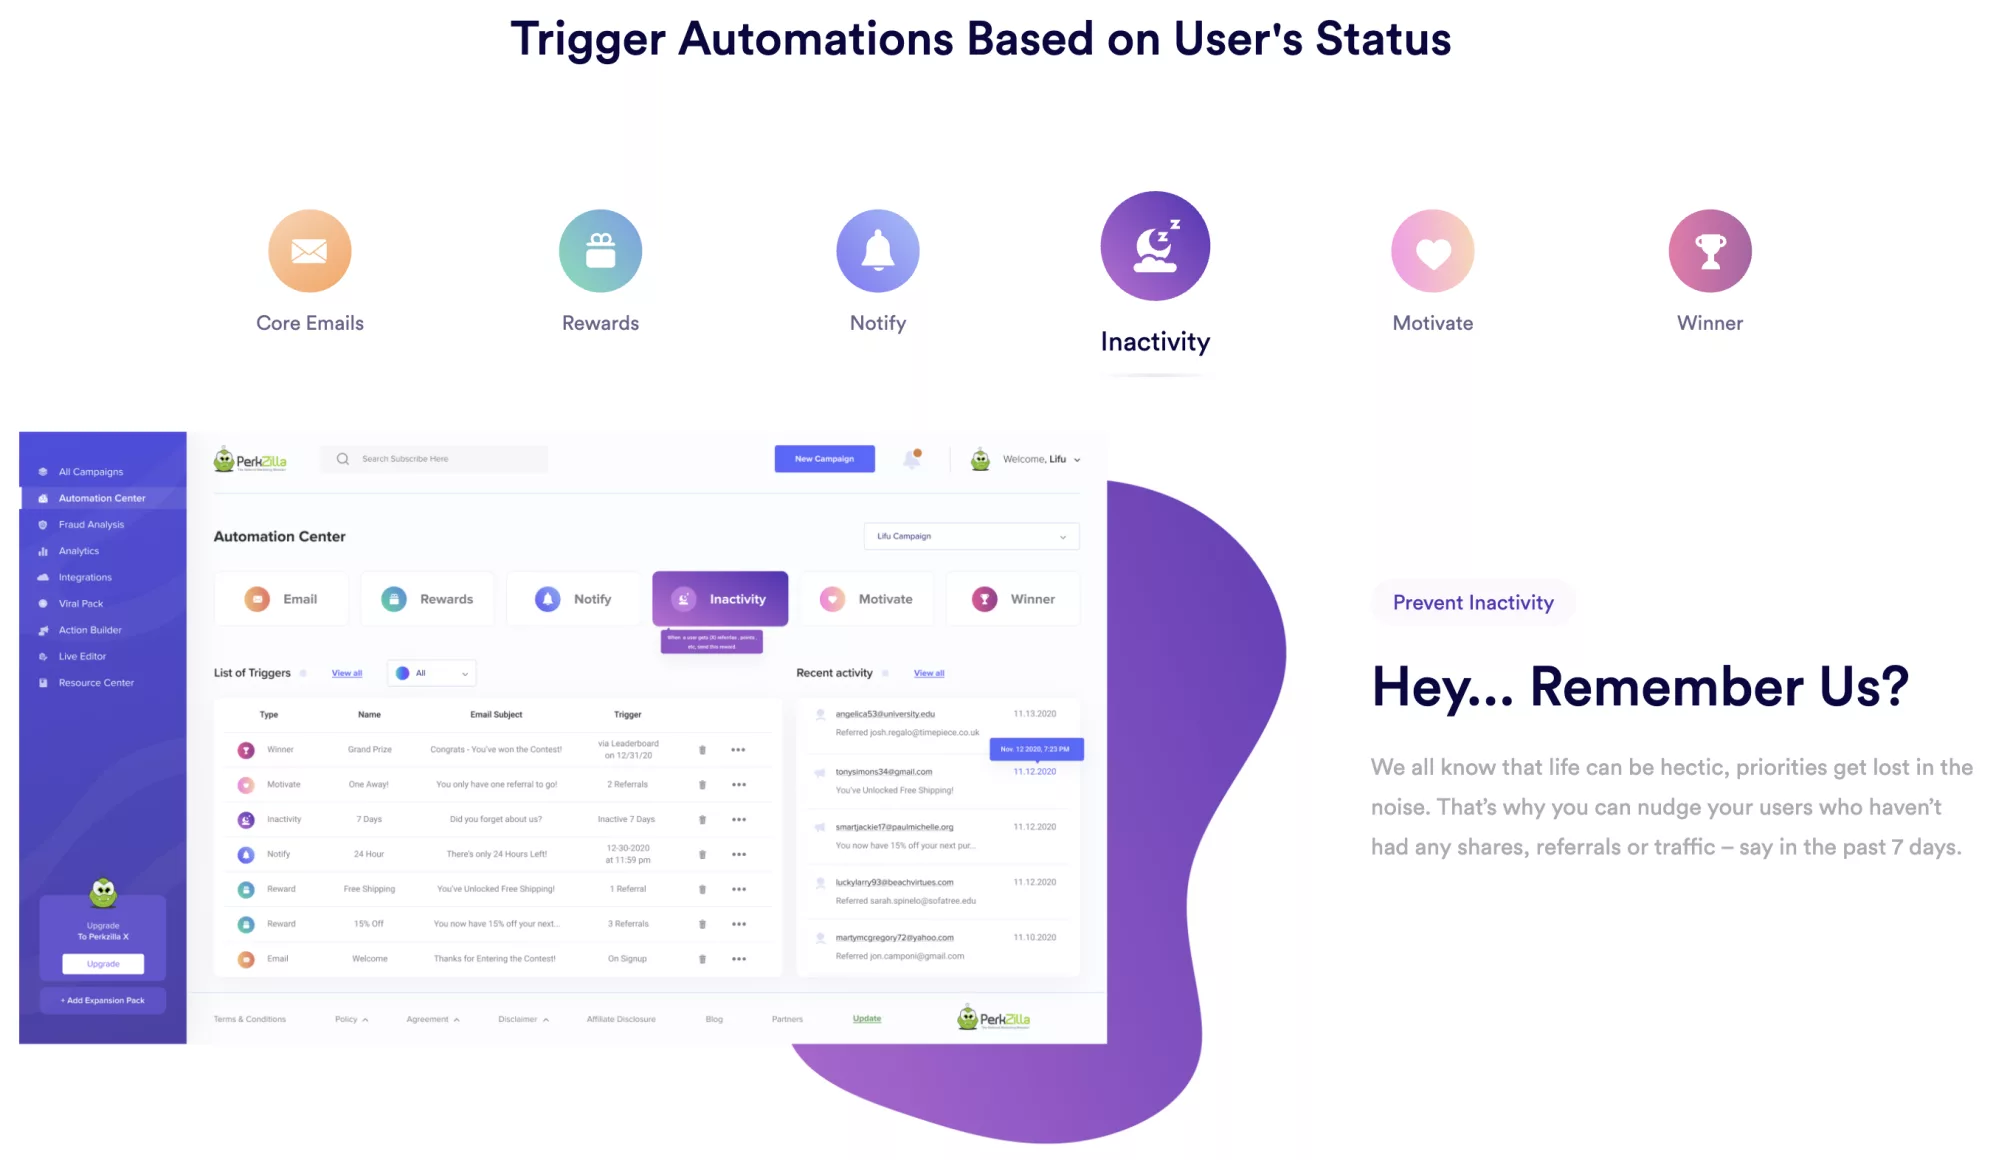
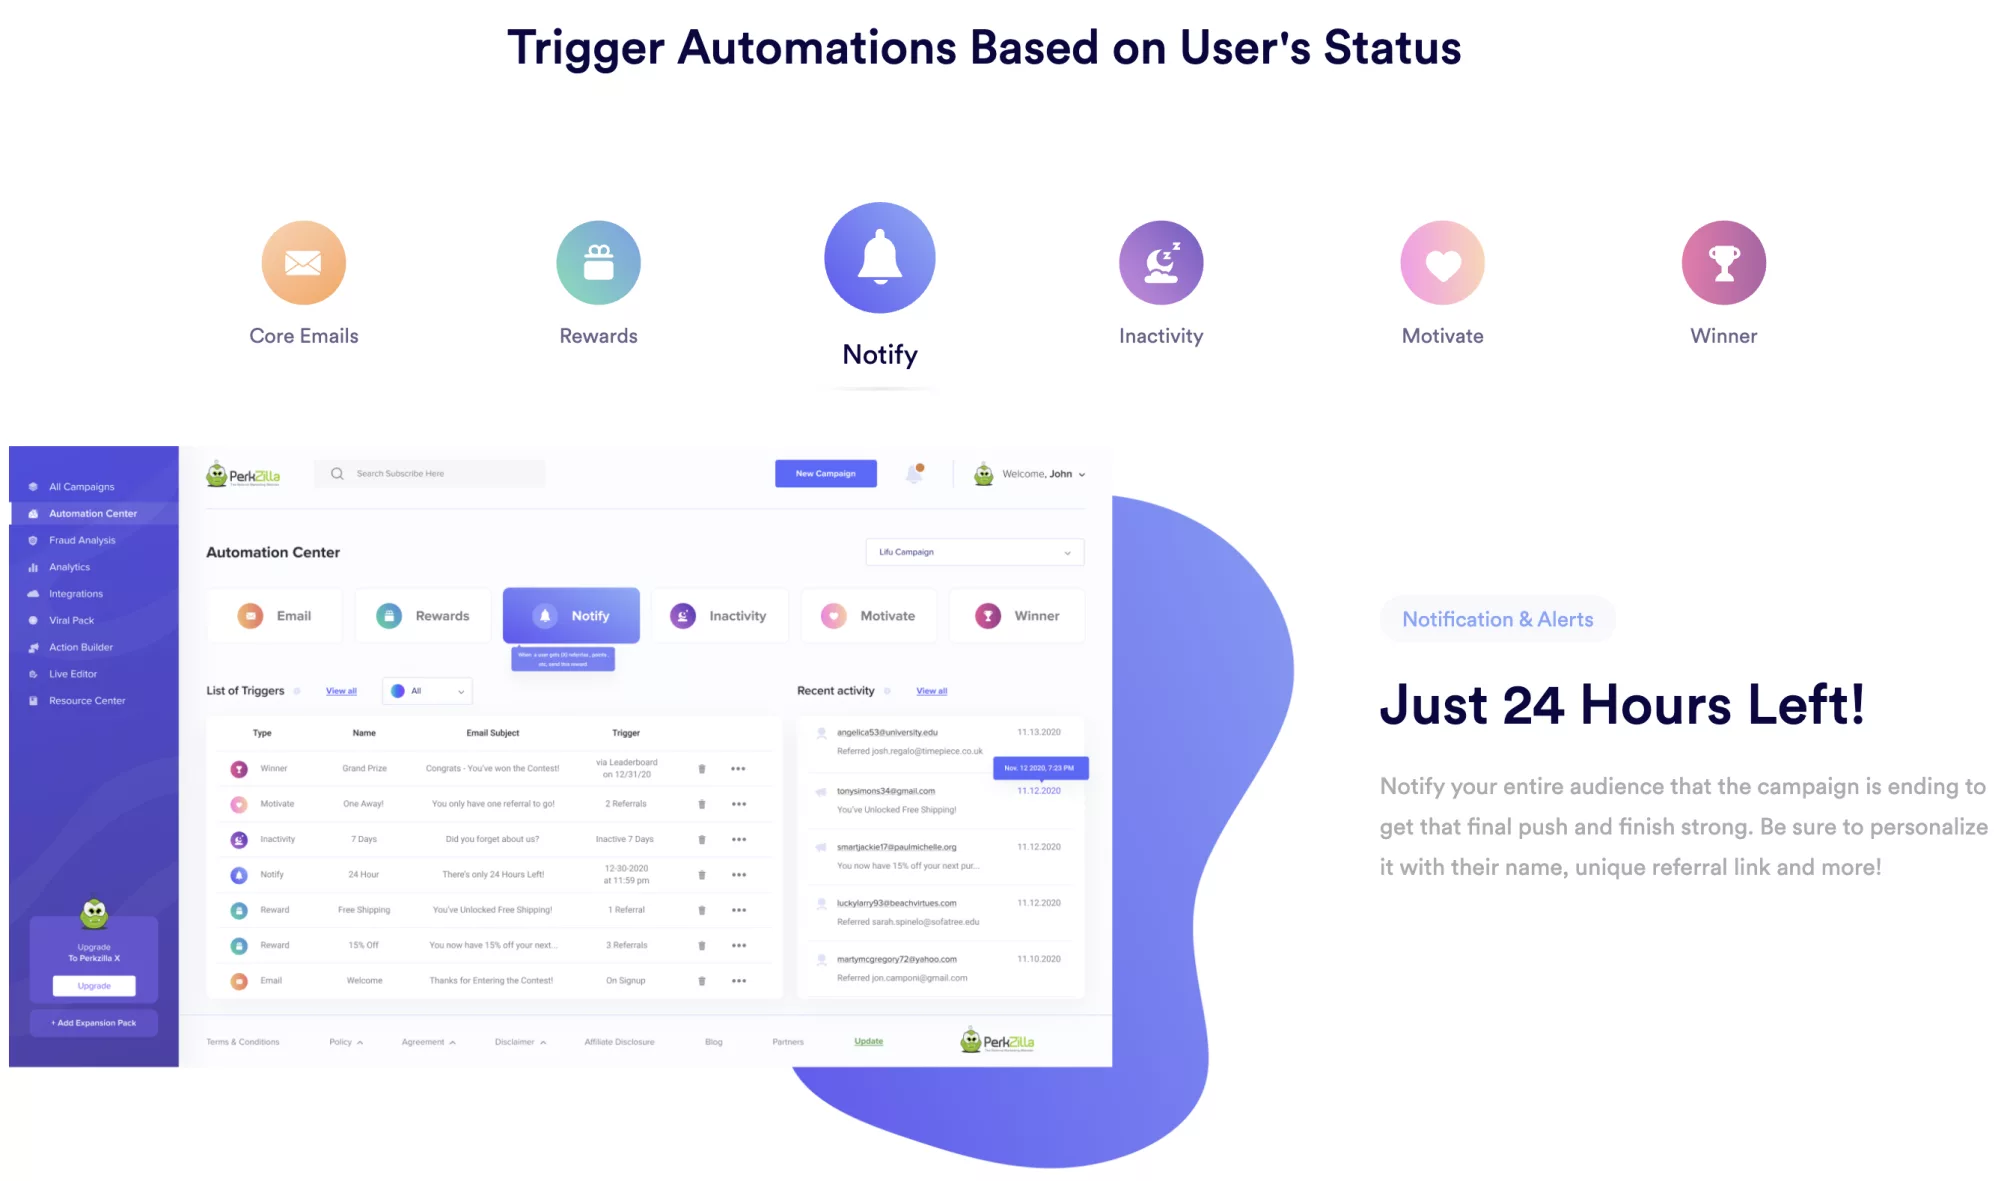
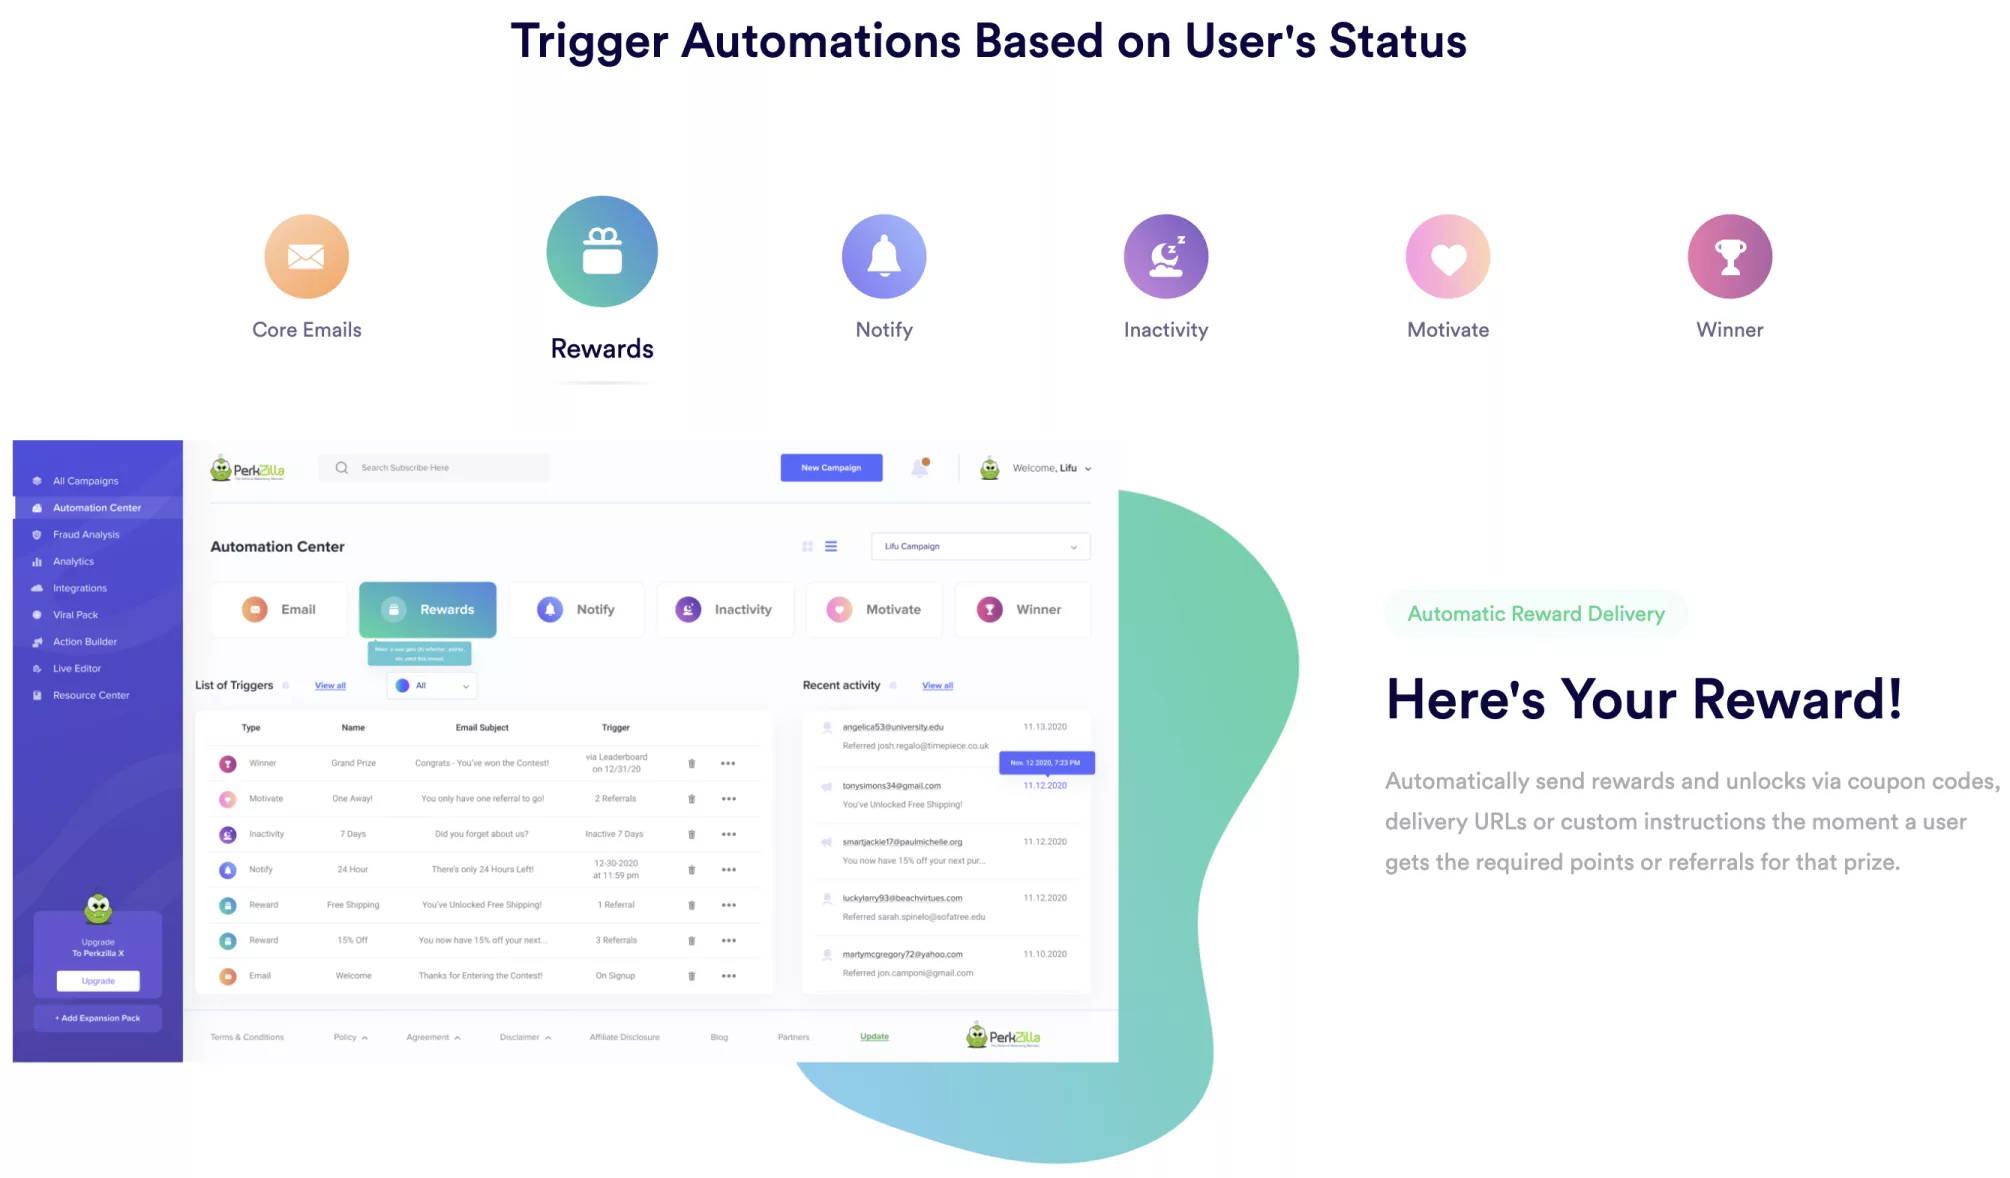
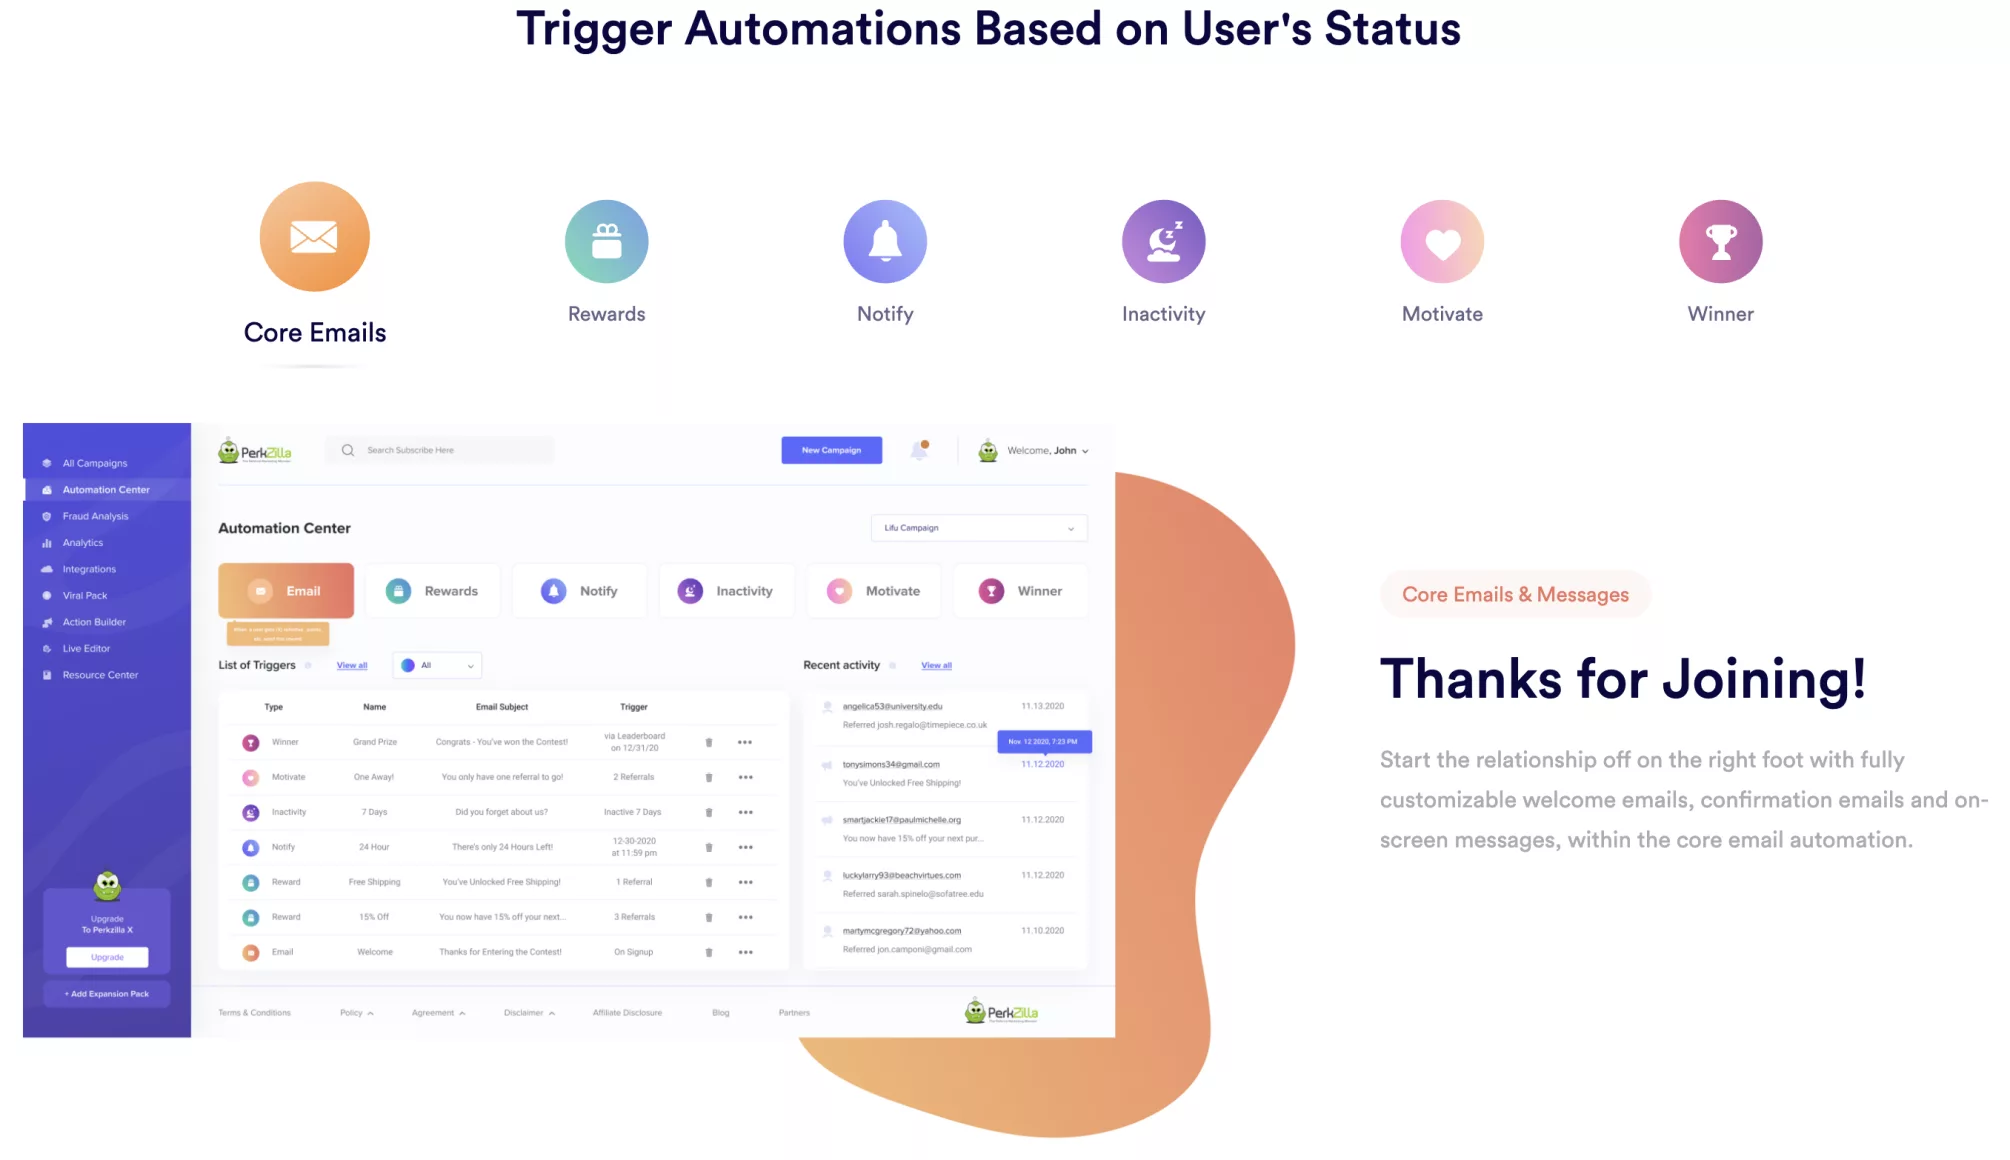
9. Automation Center
Now this is where the magic happens! Once you have a campaign set up, user engagement is critical to your success.
Click the above image to enlarge and learn about triggers.
In the Automation Center, you can:
- Customize the Welcome Email and Confirmation Email for the participants.
- Automatically send rewards based on specific triggers such as 3 referrals or 500 points earned.
- Notify your entire audience that there’s only 24 hours left in the contest!
- Nudge inactive users who have not shared or referred anyone in the last 14 days.
- Motivate participants who are 1 referral away from your next reward tier.
- Automatically draw and notify winners based on leaderboard, raffle style or randomly.
10. Integrations & Custom SMTP
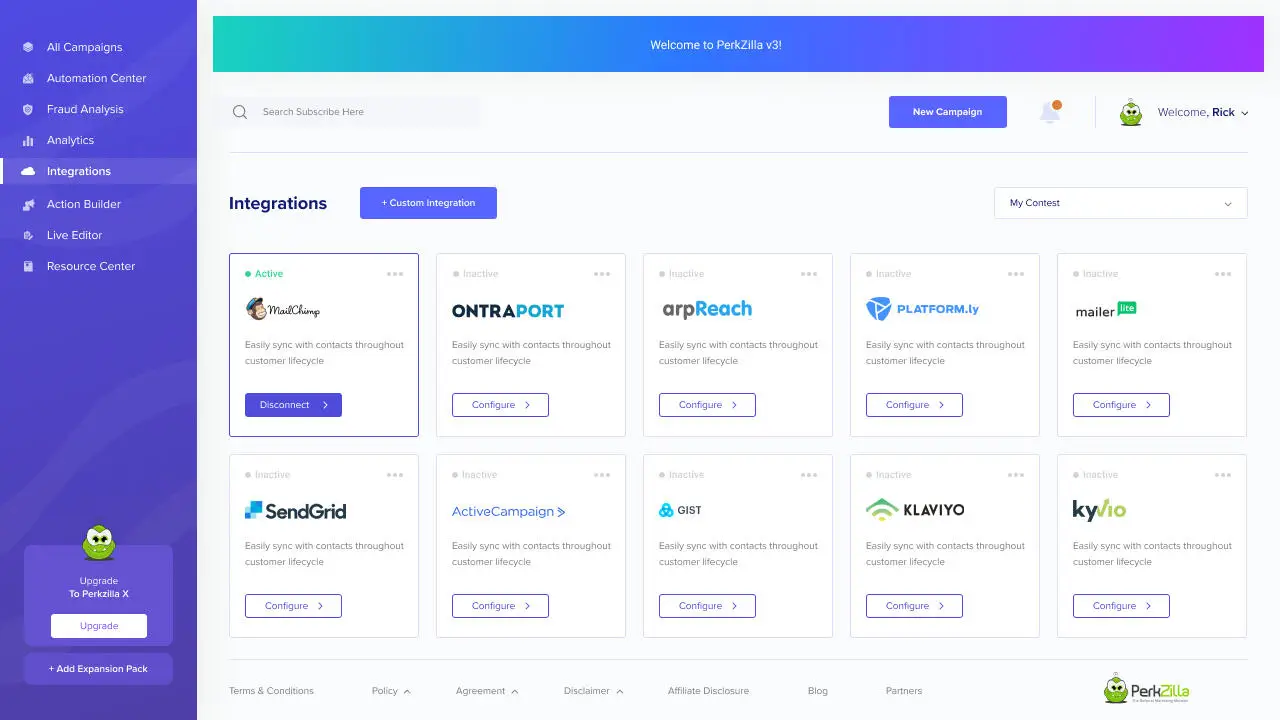
In just a few clicks you can link dozens of autoresponder integrations where new leads will be automatically sent for your campaign.
Simply click on the … in the top right corner to view linkage instructions.
If your autoresponder is not on the list, you may use the  option or submit a feature request at feedback.perkzilla.com
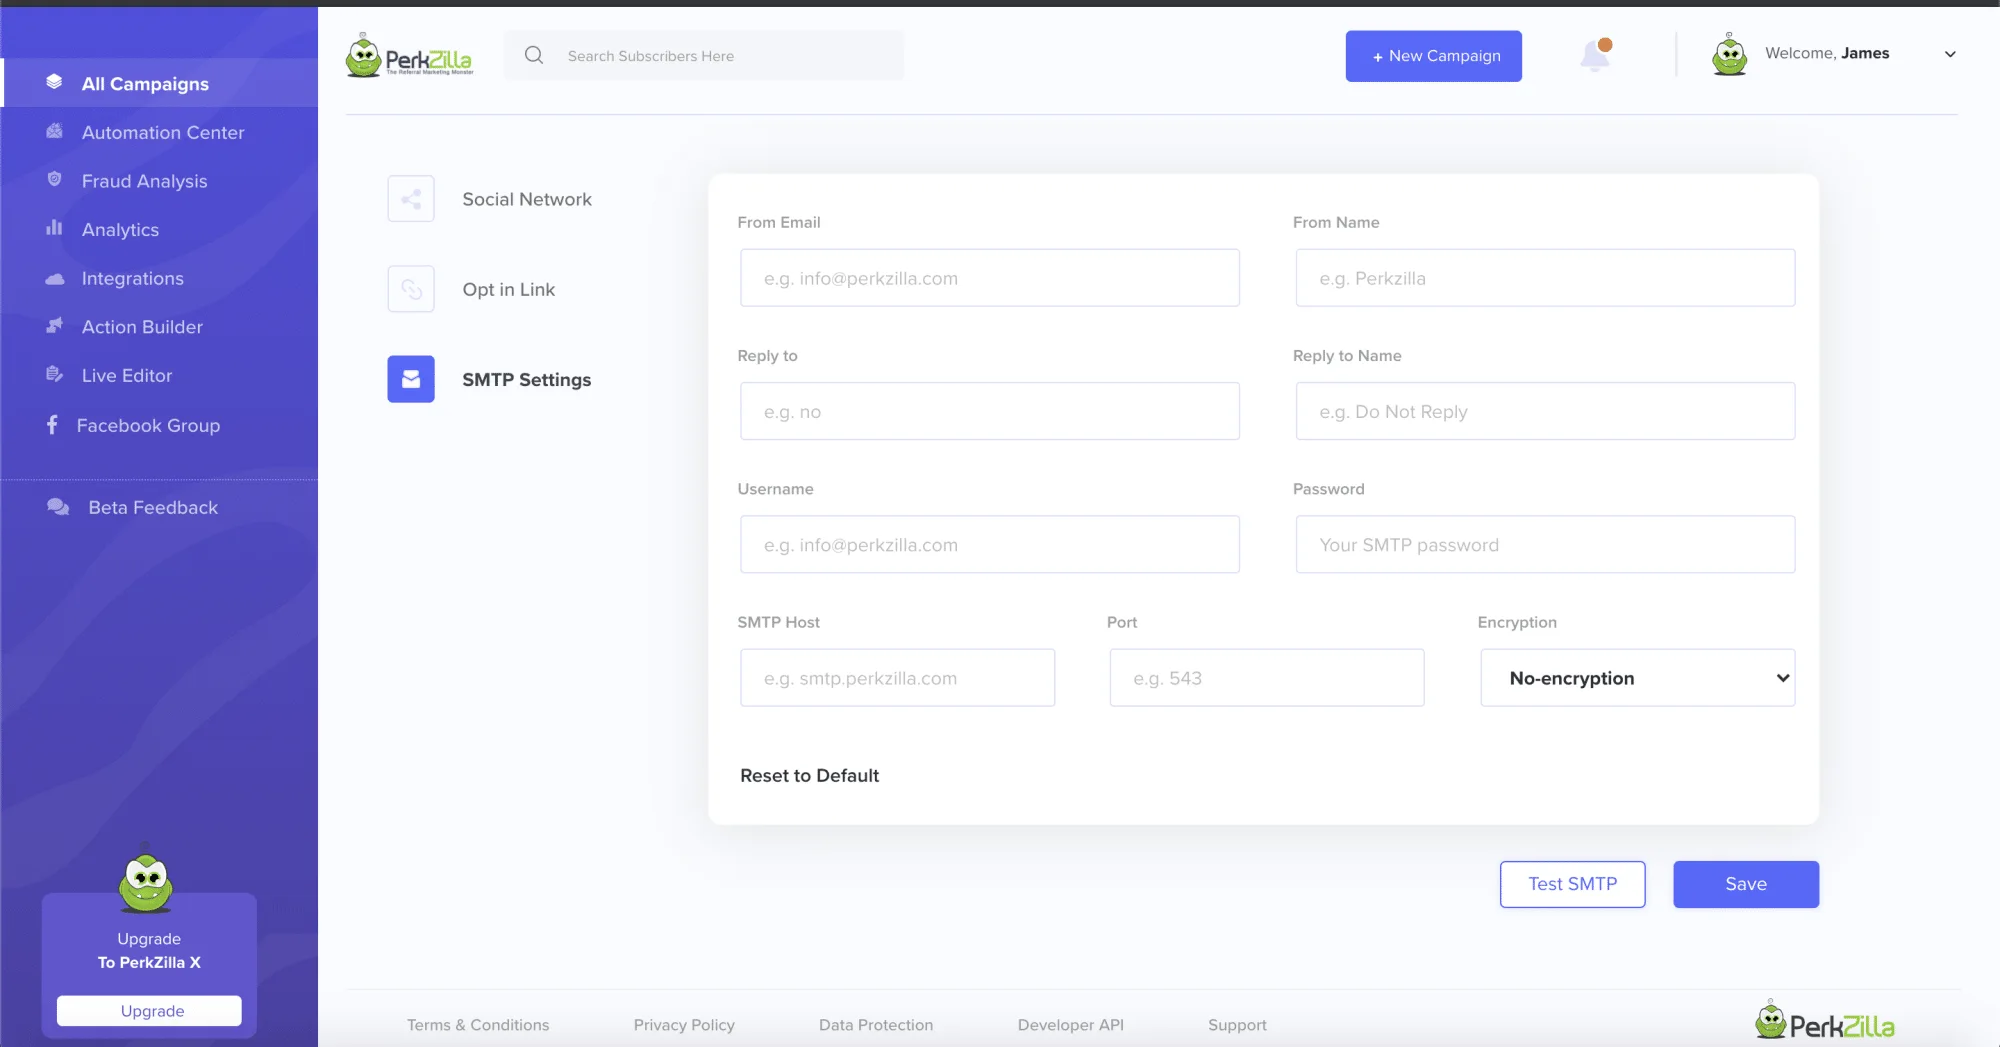
Autoresponders and integrations are for collecting leads, if you want to SEND emails from your branded domain or other provider – you can set up custom SMTP for your campaign.
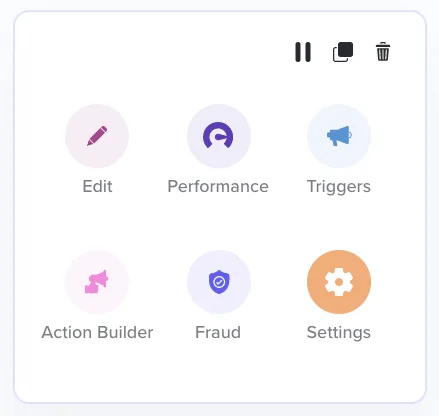
Simply hover over the main campaign tile, hit settings and go to the SMTP Settings to add SMTP to your campaign.
If you’re unsure about what settings, it’s the same SMTP setting you use to put your business email in a mail app such as Outlook, Apple Mail or on your phone.
If still unsure, you can ask your hosting/domain provider for the details.
